|
Why would one need to restore a 5-year-old Harley?
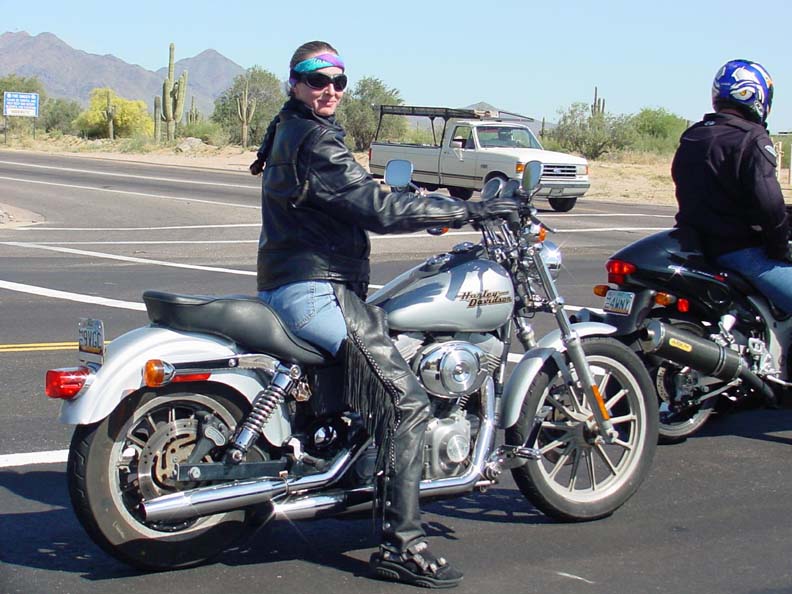
This is a very good question, worthy of an answer. When Julie and I first started searching for a her new Harley, we decided that we wanted something late-model, but not brand new. Not only did the bike have to be a bike she found aesthetically pleasing, but it had to fit my specifications of what I thought she could handle, and what would be practical for in-town riding as well as long-distance traveling. Also, her would-be Harley would have to be located within driving distance of Albuquerque. I pretty much decided that we'd limit our search area to adjoining states. Since we're in New Mexico, this would mean Colorado, Texas, or Arizona.
After searching on eBay for weeks and weeks, a bike finally caught my eye; a 2000 Dyna, located in Phoenix, Arizona. The bike was fairly new, met our geographical criterion, was priced right, and had less than 8,000 miles on the odometer. So why the need for restoration?
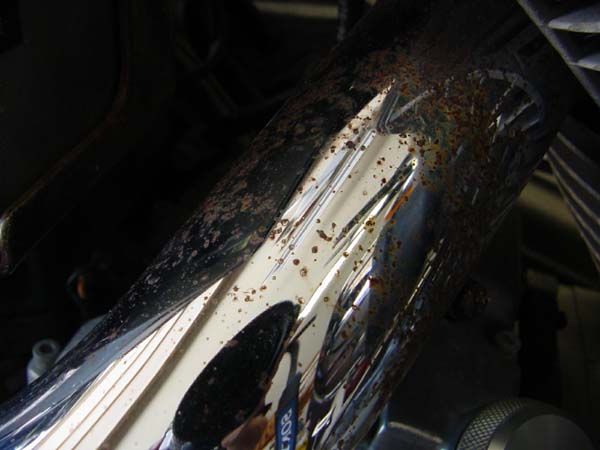
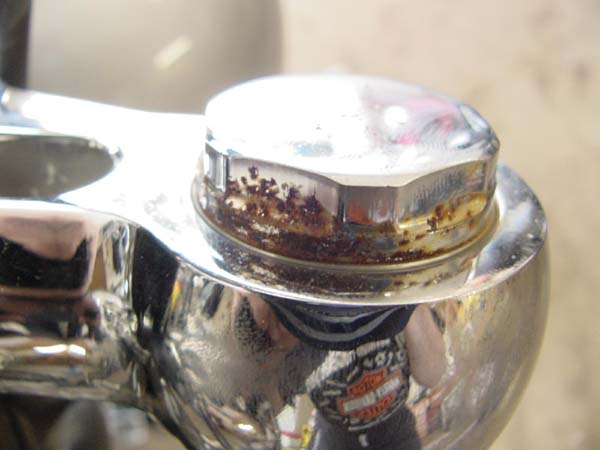
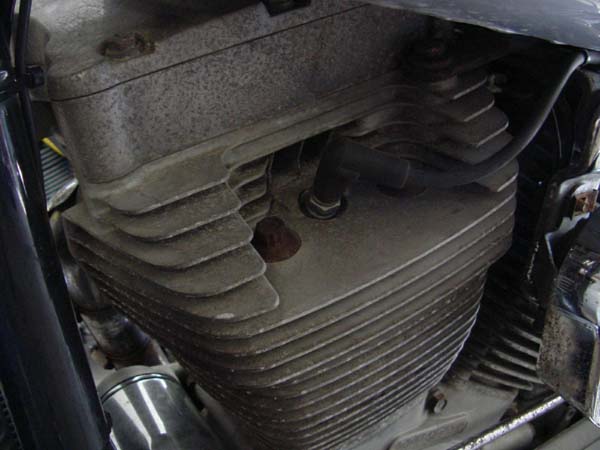
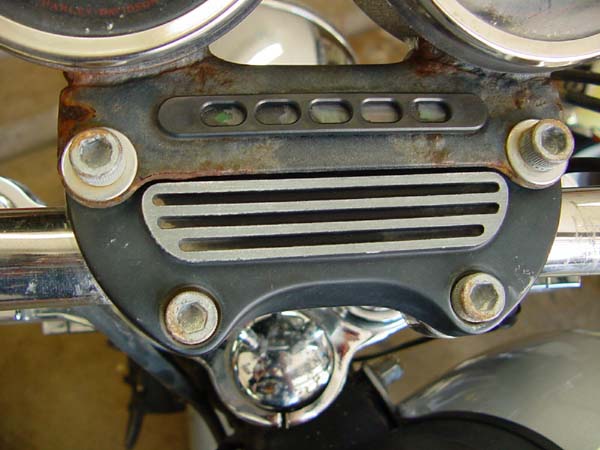
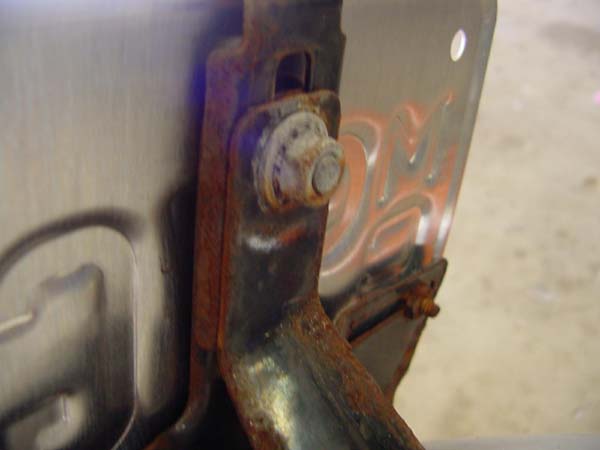
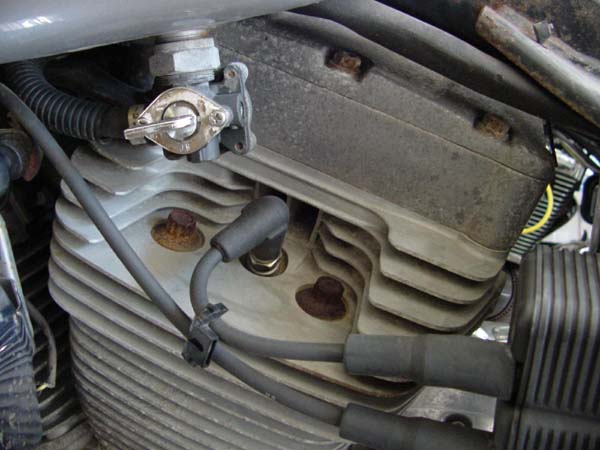
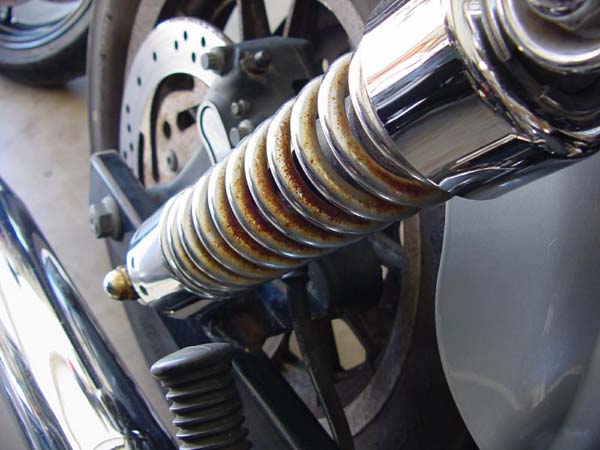
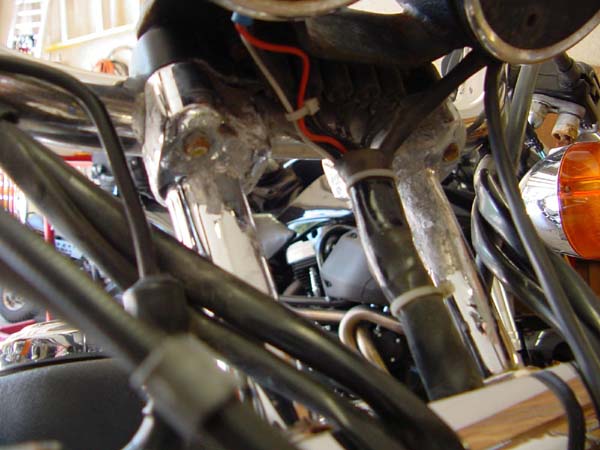
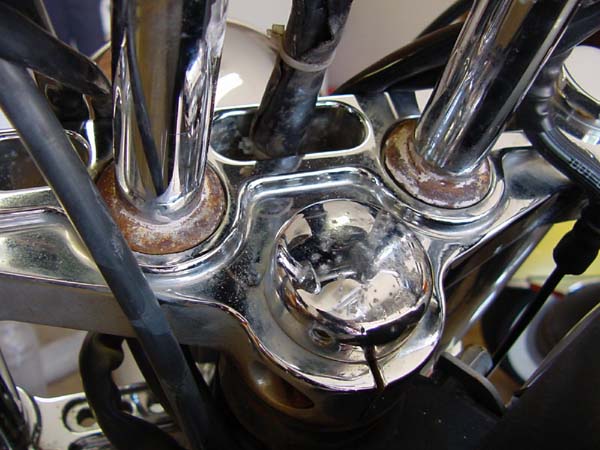
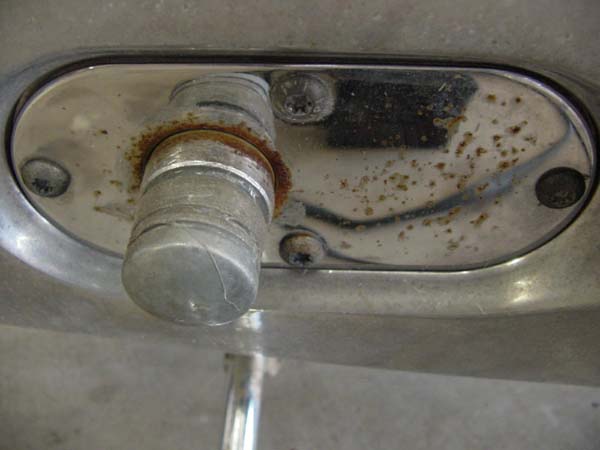
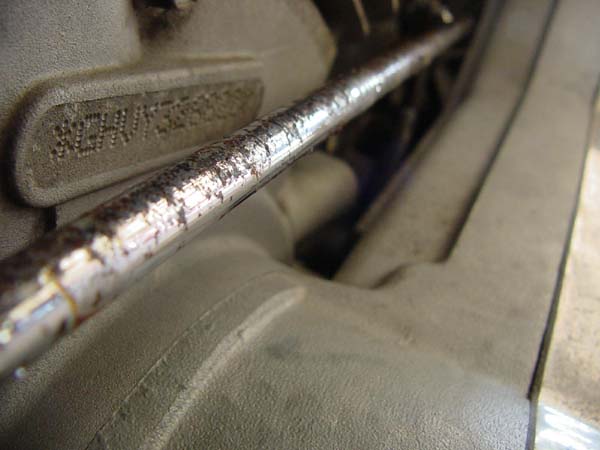
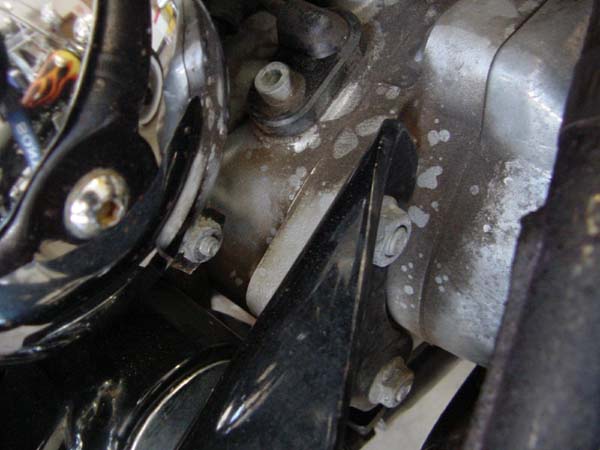
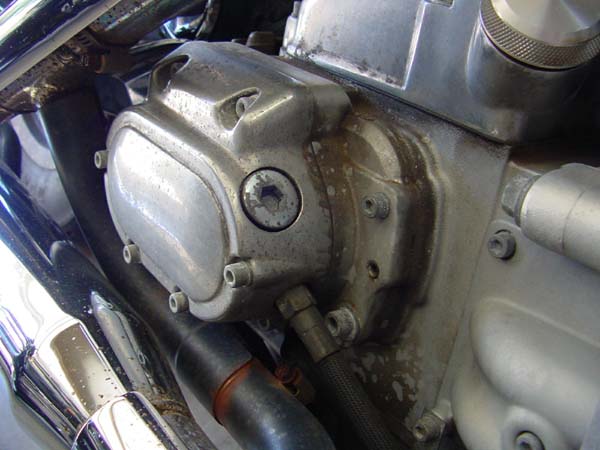
The previous owner had purchased this bike in Hawaii. Not only did he not garage the bike, but he didn't even cover her. Consequently she was left outside, unprotected, left to battle Hawaiian precipitation and humidity on her own. As any preschooler could have predicted, Hawaii's highly corrosive climate wreaked havoc with most of the metal bits. There was a fair amount of rust throughout the bike, and even the aluminum had become highly oxidized. The only reason I didn't worry too much about the corrosive condition of the bike was because not only was the bike being moved to an arid state (where a lot of the surface corrosion would simply fall off and/or go away), but I had already done a lot of research on eBay for parts availability. "2000 Dyna" parts were all over the place for dirt cheap. Replacing these rusted and corroded bits would not be that difficult or expensive. I also own a sand-blast cabinet, so blasting parts and repainting them wouldn't be that big of a deal.
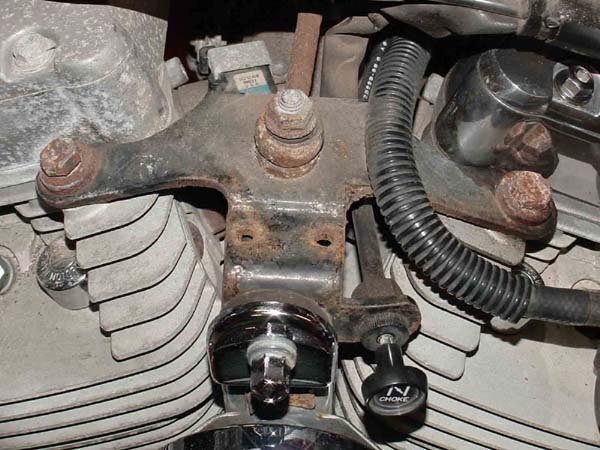
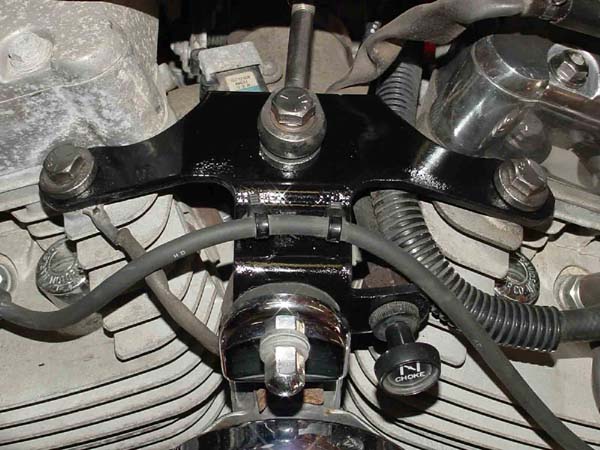
Here's a couple before and after pictures of the horn bracket. All I did was sand-blast then repaint. I then "polished" the bolts and other hardware with a wire wheel. Those aren't new bolts, washers and motor mounts. They are the original ones that have been restored. The results are pretty dramatic. Also notice that the rear rocker cover has been polished as opposed to the front, which still remains in its original state.
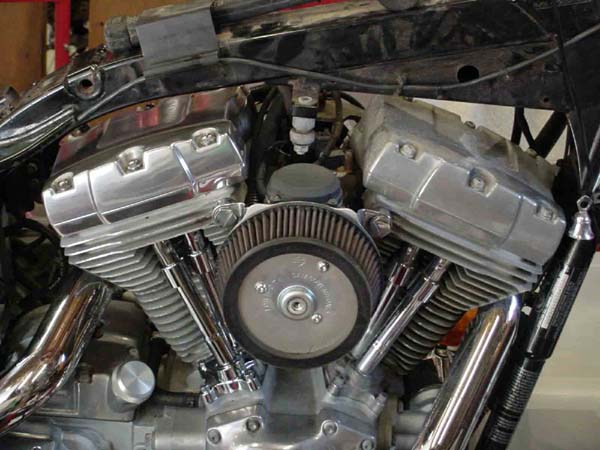
Here's a picture that compares the polished rear jug to the unpolished front jug. In addition, I polished the bolts and added a new chrome tappet block.
I think the single, ugliest part of the bike was the cast aluminum wheels. Even when cast wheels are new, they're ugly. My first mission was to get these wheels replaced. After some discussion with Julie, it was decided that chrome, laced wheels was what she wanted. If you notice in the following pictures, not only are the wheels extremely corroded, but the brake disks and rear pulley are corroded, as well. In addition, though you can't really tell from these pictures, the tires are a bit dry-rotted.
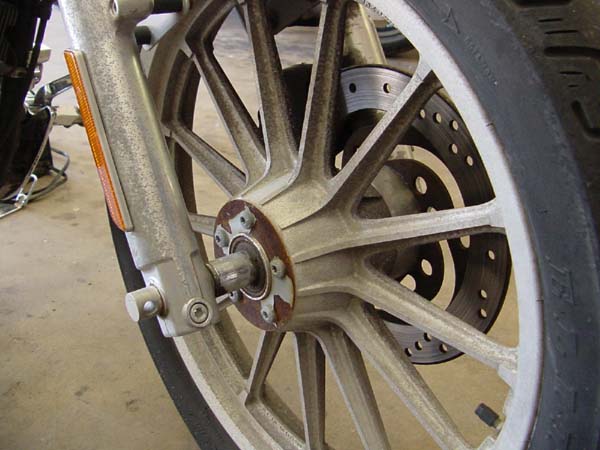
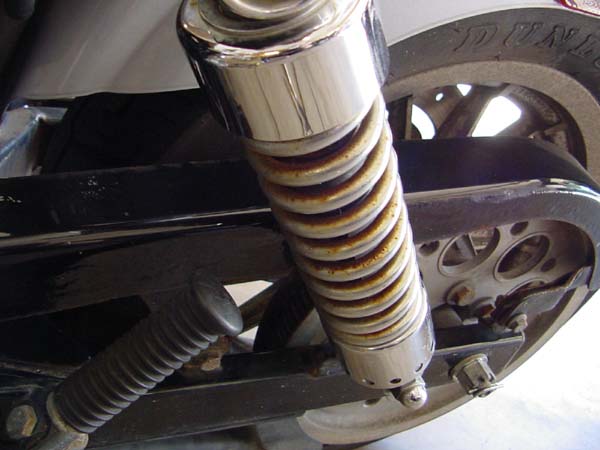
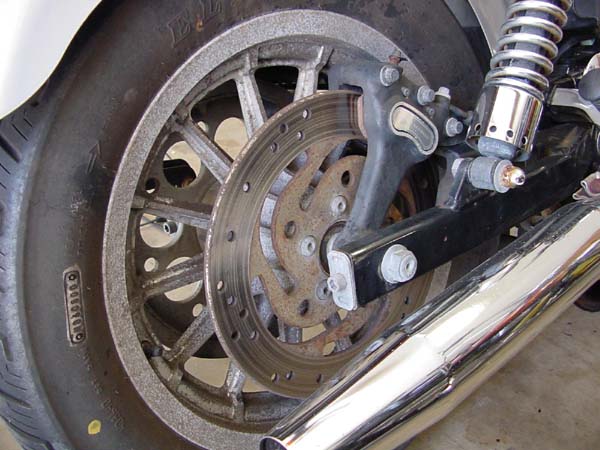
In a HUGE stroke of luck, I found a set of laced wheels on eBay that not only included new tires (less than 1,000 miles on them), but also included new brake disks (front and rear), a new belt pulley, and a chrome pulley cover with chrome pulley cover bolts. My friends, this was the mother load. I was bound and determined to win this auction, no matter what. I'm pretty proud to say that we scored the entire package for $411.96, which included shipping. He shoots, he scores!
Here's a couple pictures of the wheels and Julie's bike after the wheels were installed. Click on any image to enlarge.
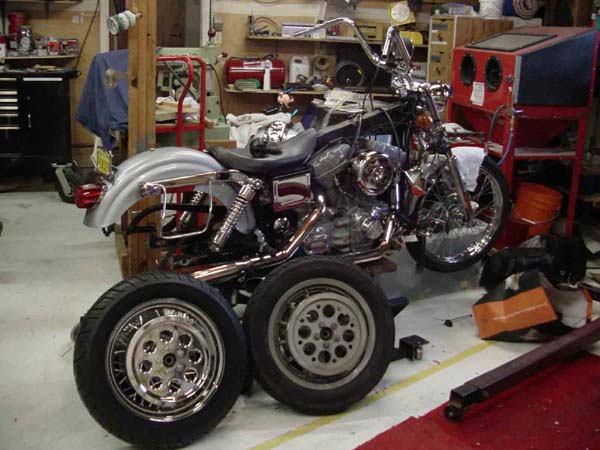
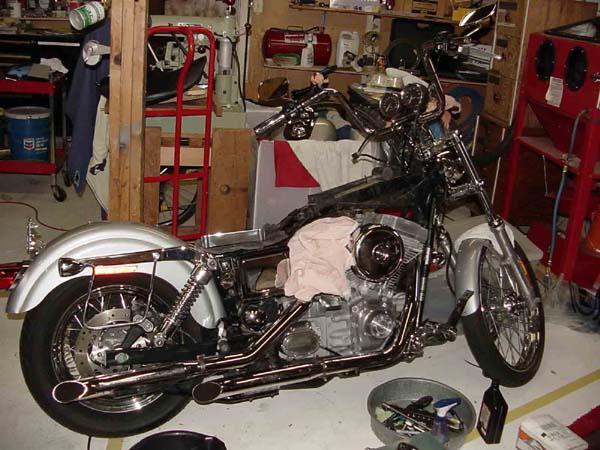
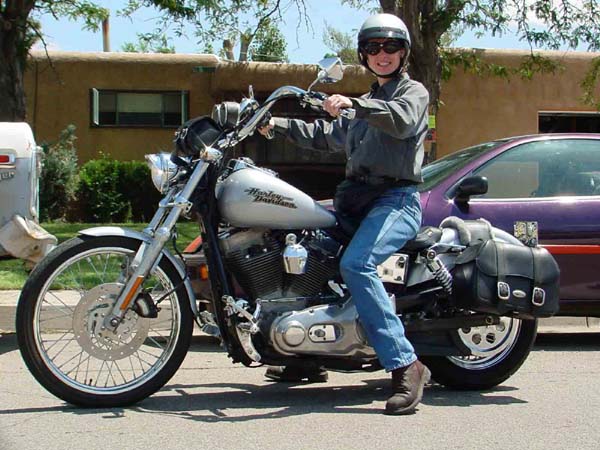
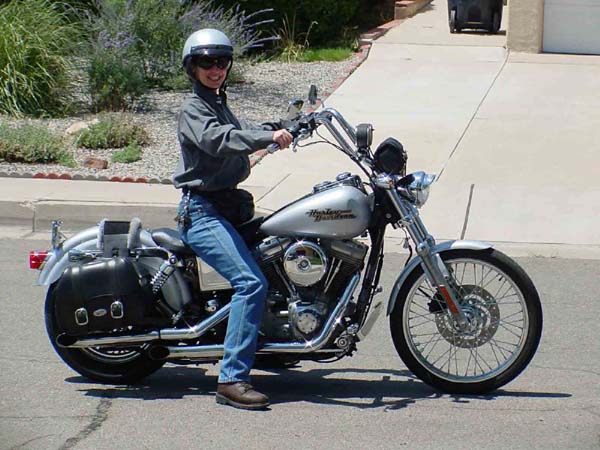
If you look closely at the last 2 pictures you may notice how the front fender really hugs the front wheel. This is because I simply bent the original "Sportster" type front fender tabs outwards to accomodate the Wide-Glide front-end. Using the Pythagorean Theorem, I calculated how much clearence the fender would lose over the wheel. According to my calculations we had enough clearence to work with. Luckily, my calculations were correct. I think the front fender looks way better than the Wide-Glide fender that's supposed to go there.
These next pictures were taken the day we purchased Julie's 2000 Dyna. Julie was extremely distraught over the visible surface corrosion. However, being a guy who's restored a few things in my life, I recognized this surface corrosion as nothing more than an inconvenience (as noted in the above pictures and text).
As of this writing I have many "before" pictures of Julie's Dyna and a few "after" pictures. Since Julie and I are no longer together, all I can post are most of the "before" pictures. I have a few "after" pictures, but honestly, the bike was not complete when Julie left. When I dig out the "after" pictures, I will post them. Click on any image to enlarge.
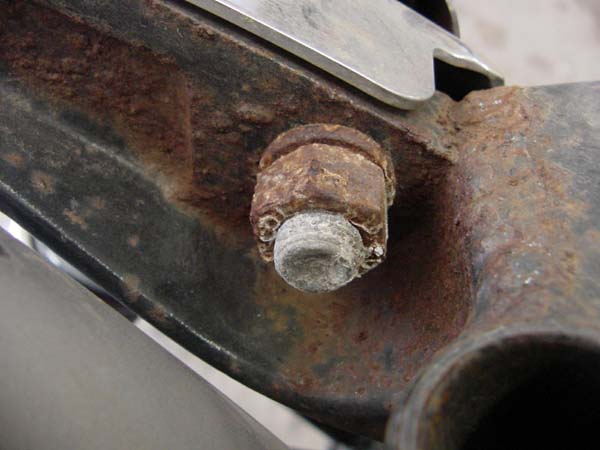
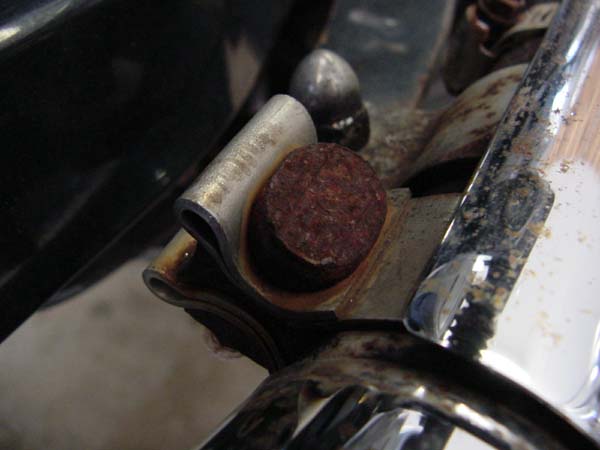
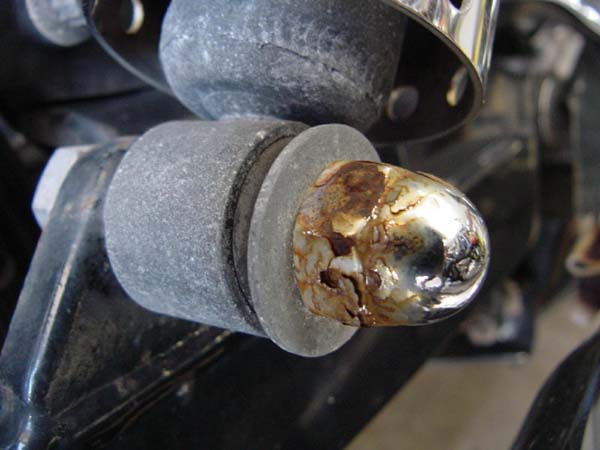
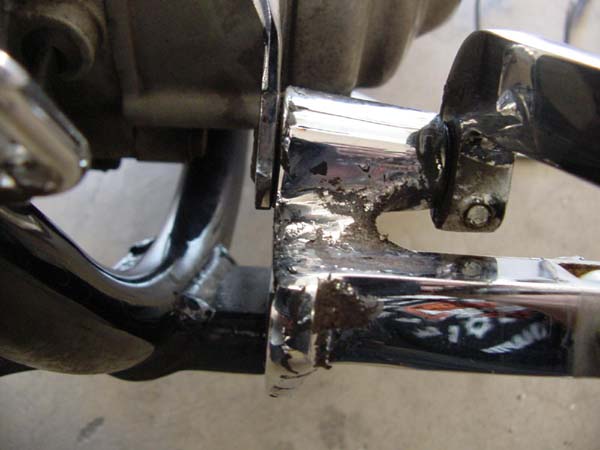
Making aluminum parts better than new.
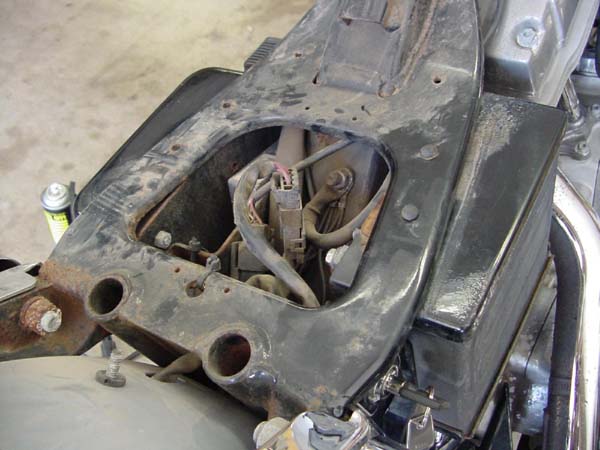
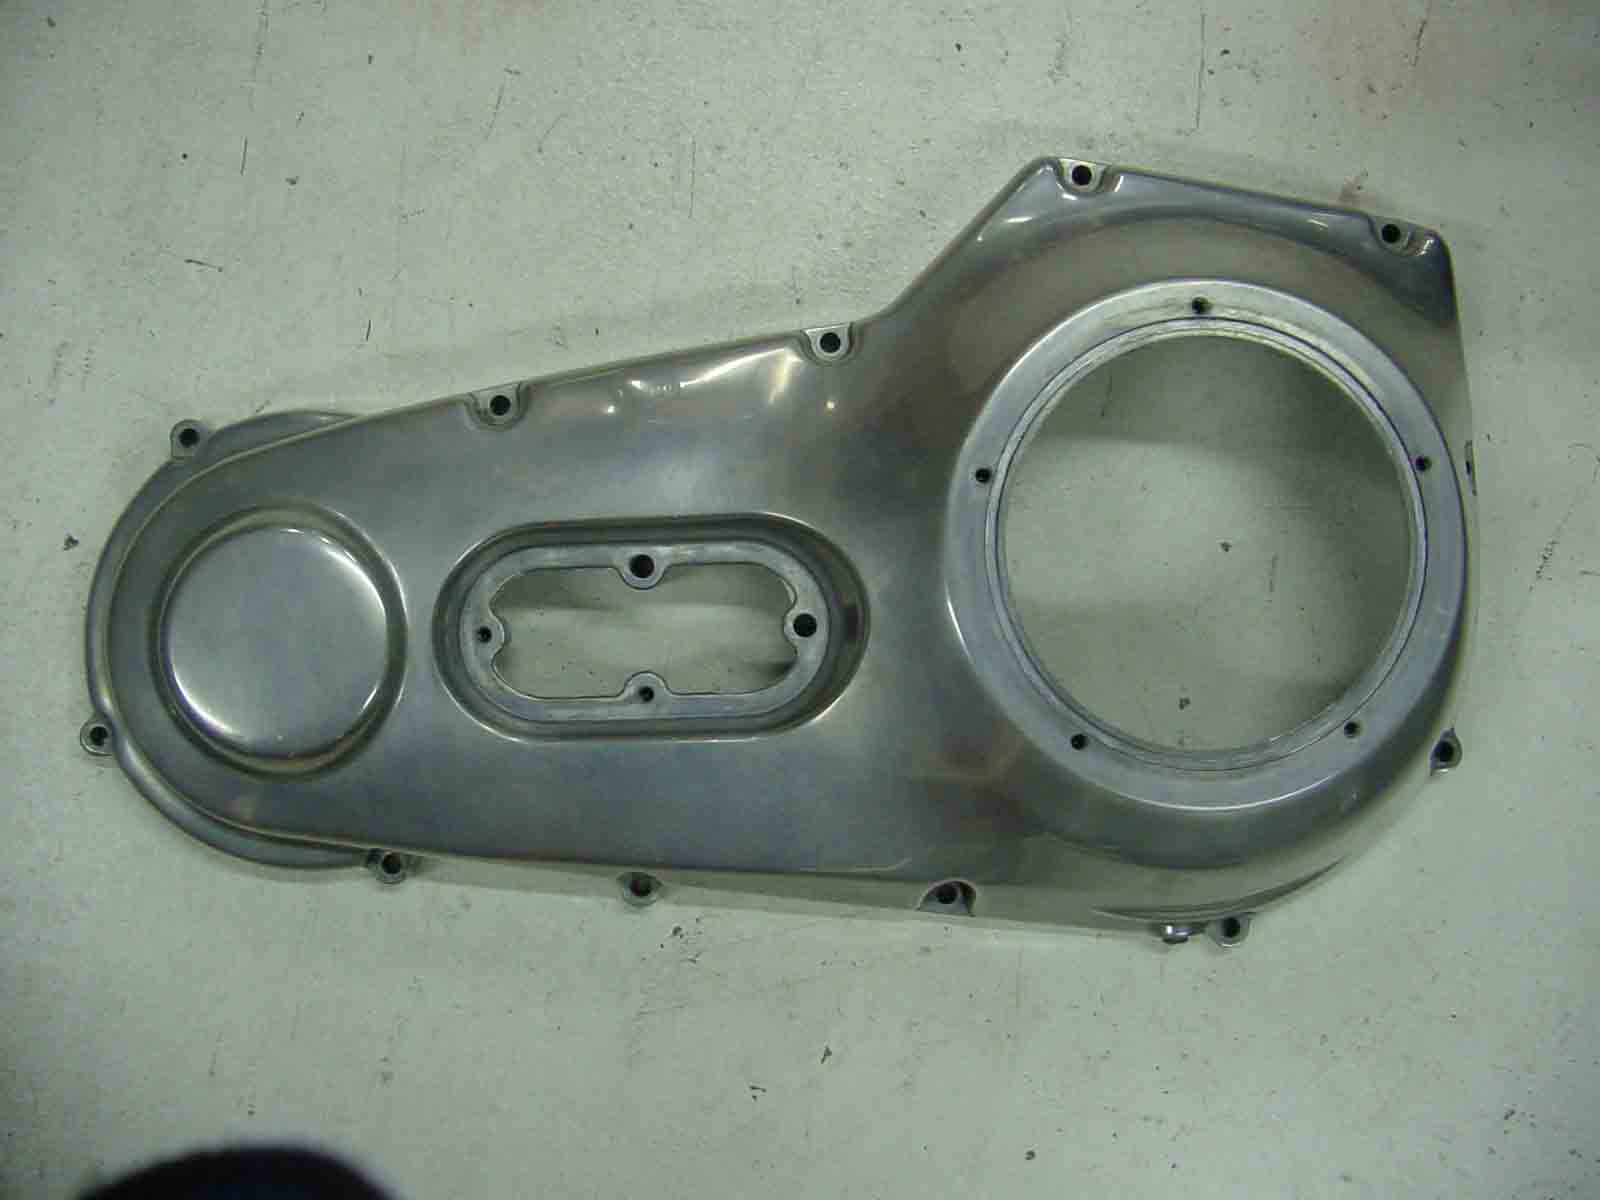
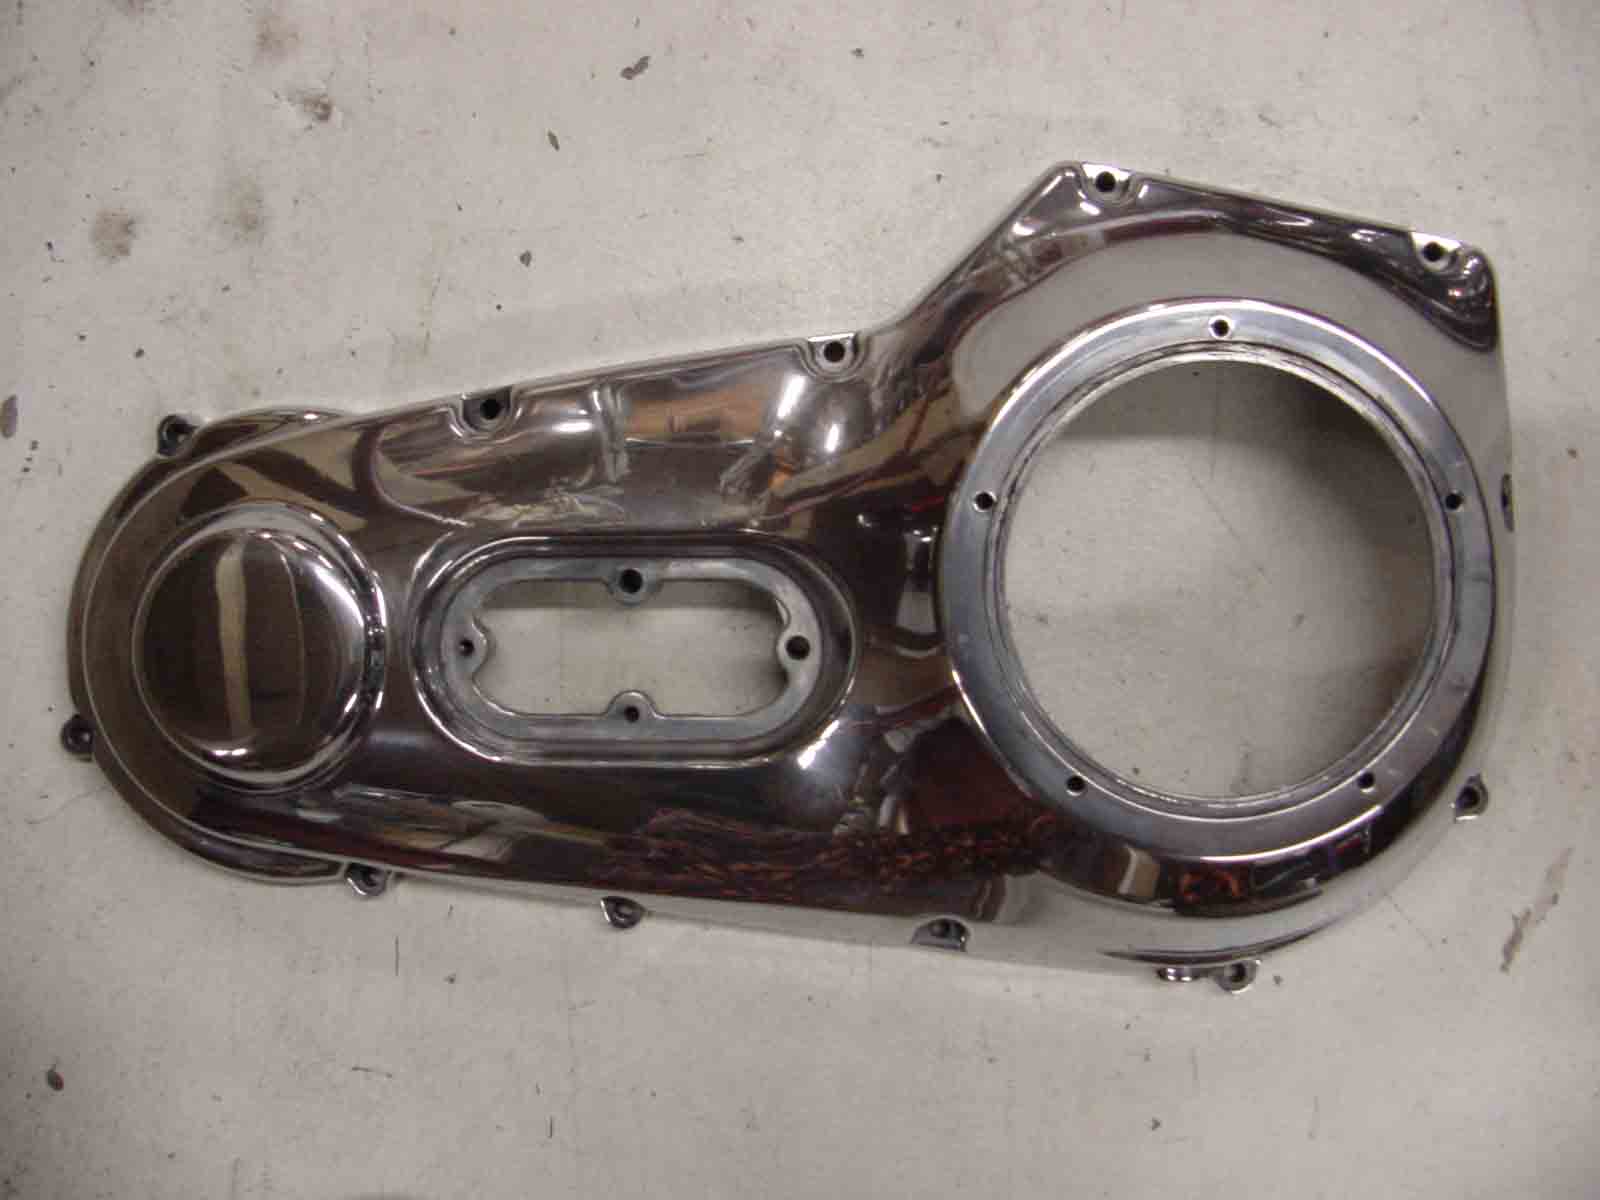
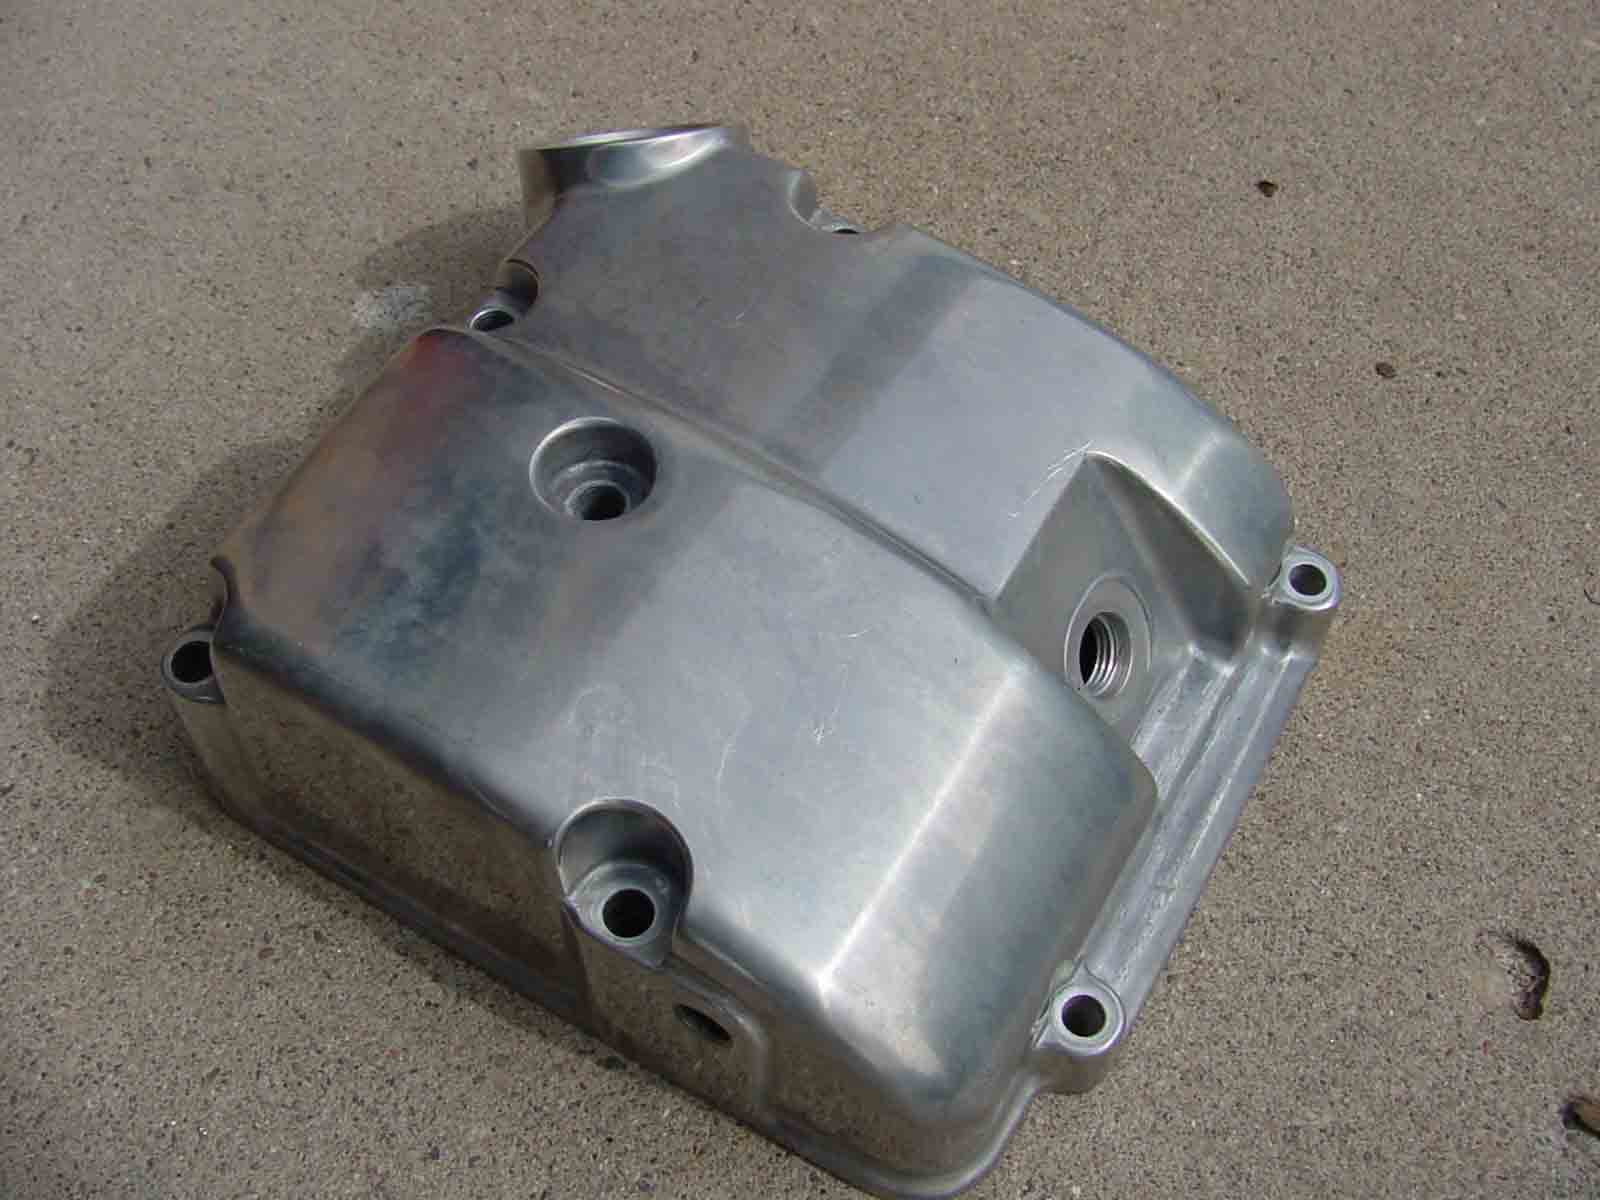
One of my main concerns was restoration of the aluminum engine, transmission and primary covers. As previously mentioned, the Hawaiian climate had highly oxidized the aluminum parts. As you can see in these 2 pictures, the aluminum looks pretty bad.


My original plan was to try to restore these aluminum bits by sanding and then polishing them. My original efforts were in vain. Not only did I spend hours and hours on the restoration effort, but the results, though impressive, were unsatisfactory to me. Deeply embedded corrosion was impossible to buff or even sand out. Frustrated with my efforts, I made a plea to a Harley news group I belong to, The Harley Digest (or as it is now called, "The Harley E'mail Digest" or "HeD" for short), for good, used, not-corroded aluminum covers. A fellow Digester from Geneva, Jim Duppenthaler, responded. He had recently replaced all the aluminum covers on his 2000 Dyna with new, chrome ones. He had no use for the old, aluminum covers, so he offered to send them to us for the cost of shipping. Shipping was a little over $200.00, definitely a great deal for Julie and myself.
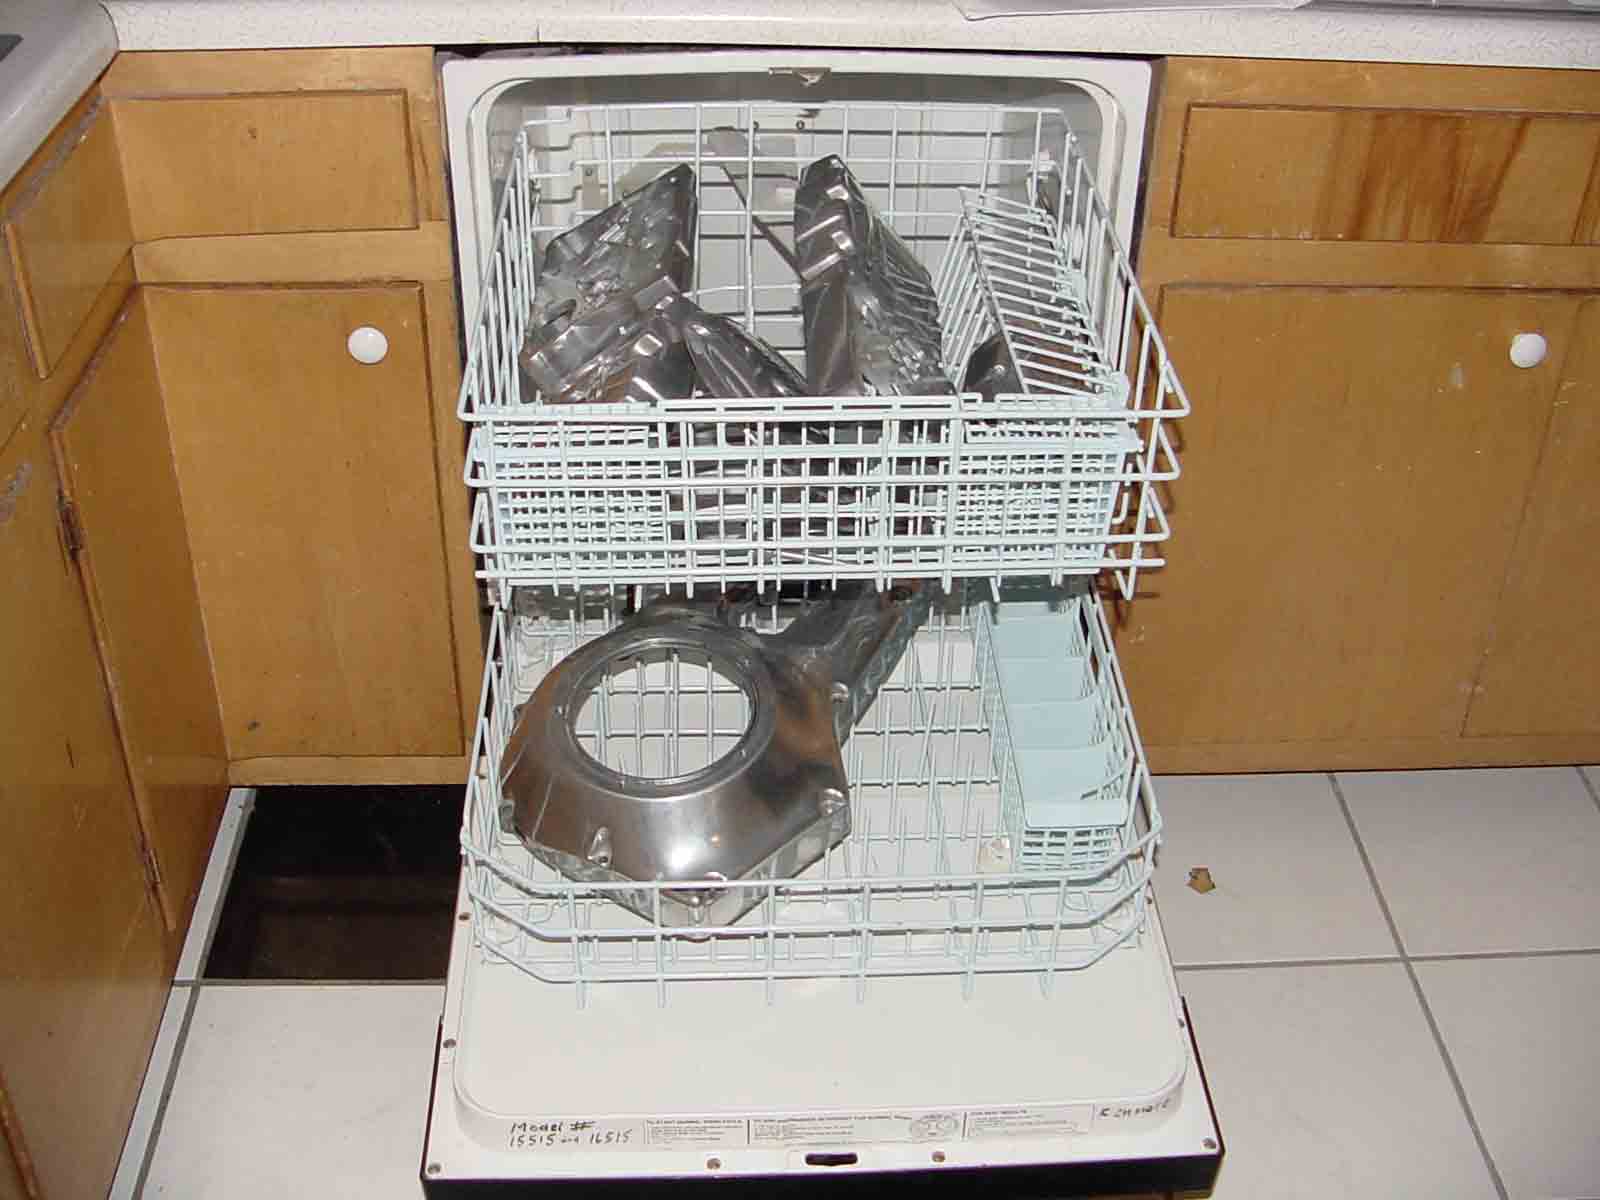
Anyone in-the-know knows that the biggest part of restoring parts to their original (or better) condition is prep work - especially if you are painting, polishing, etc. In this case the problem was that all the parts were still coated with oil and grease from the last bike they'd been installed on. Here's what I came up with for getting rid of all that old grease and oil. Though Julie wasn't thrilled, this turned out to be a most excellent idea.
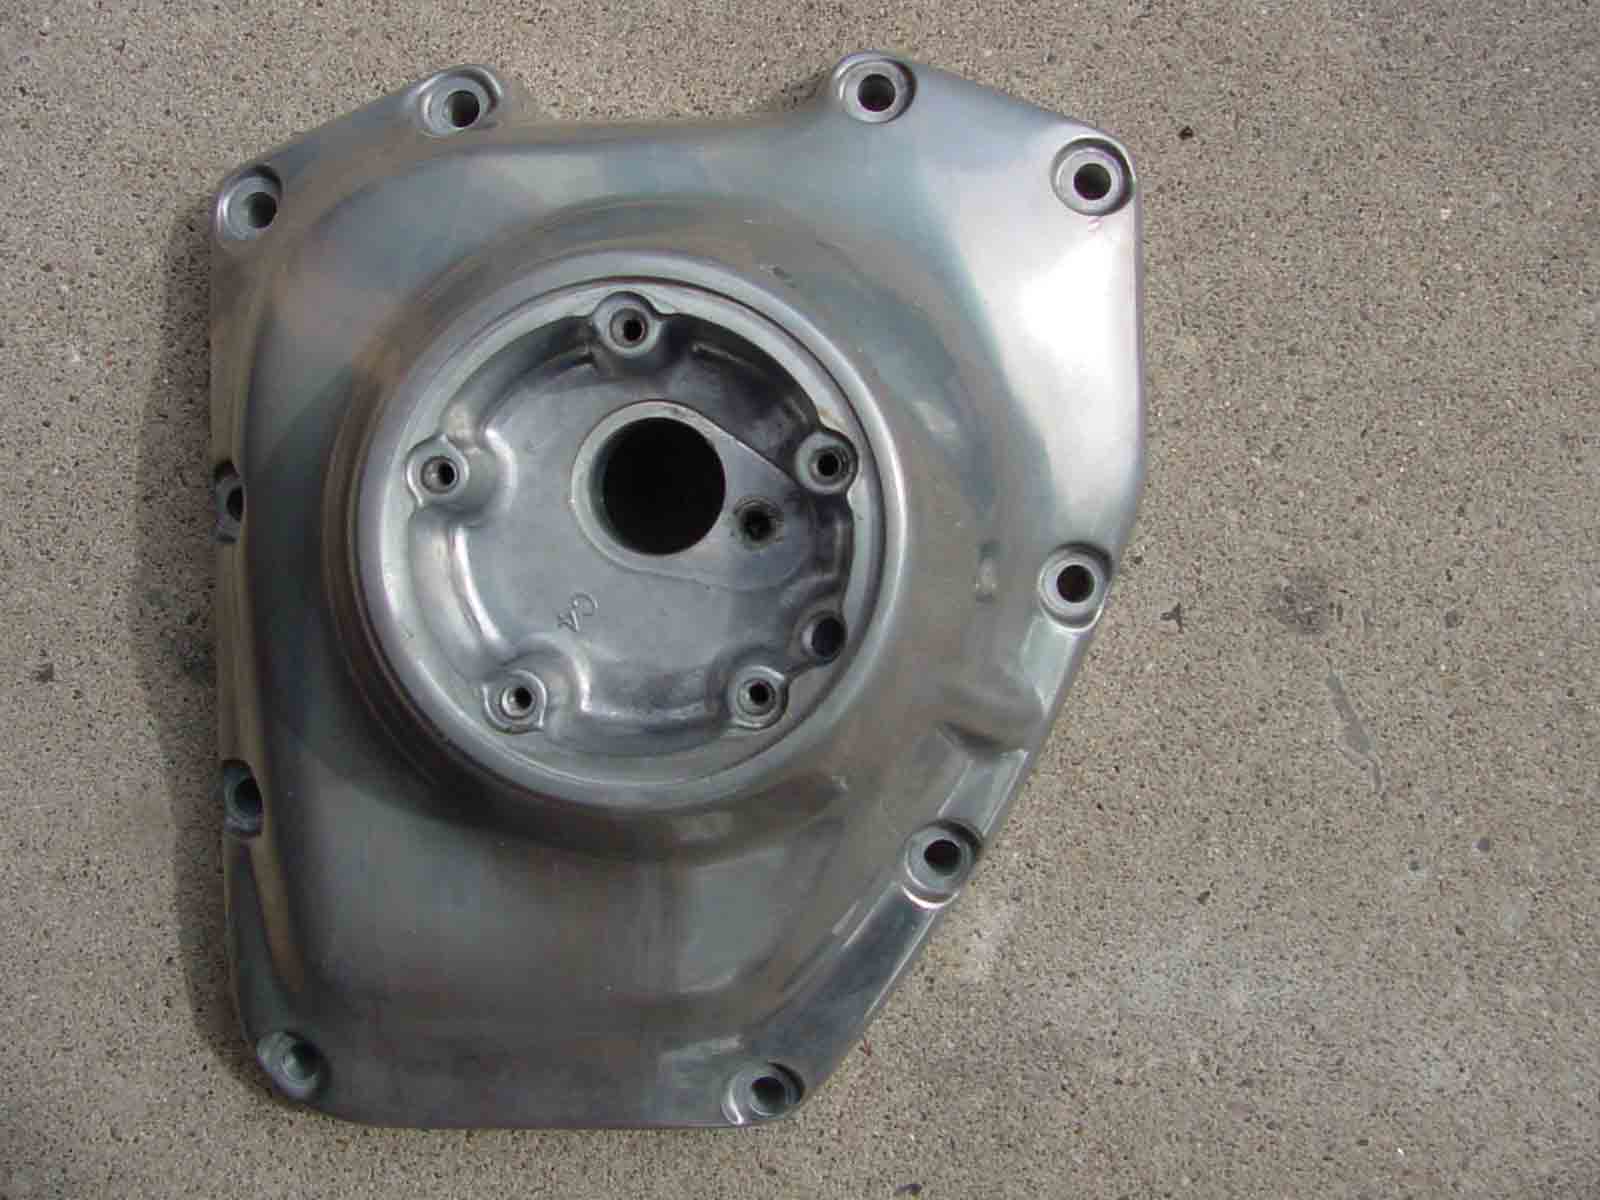
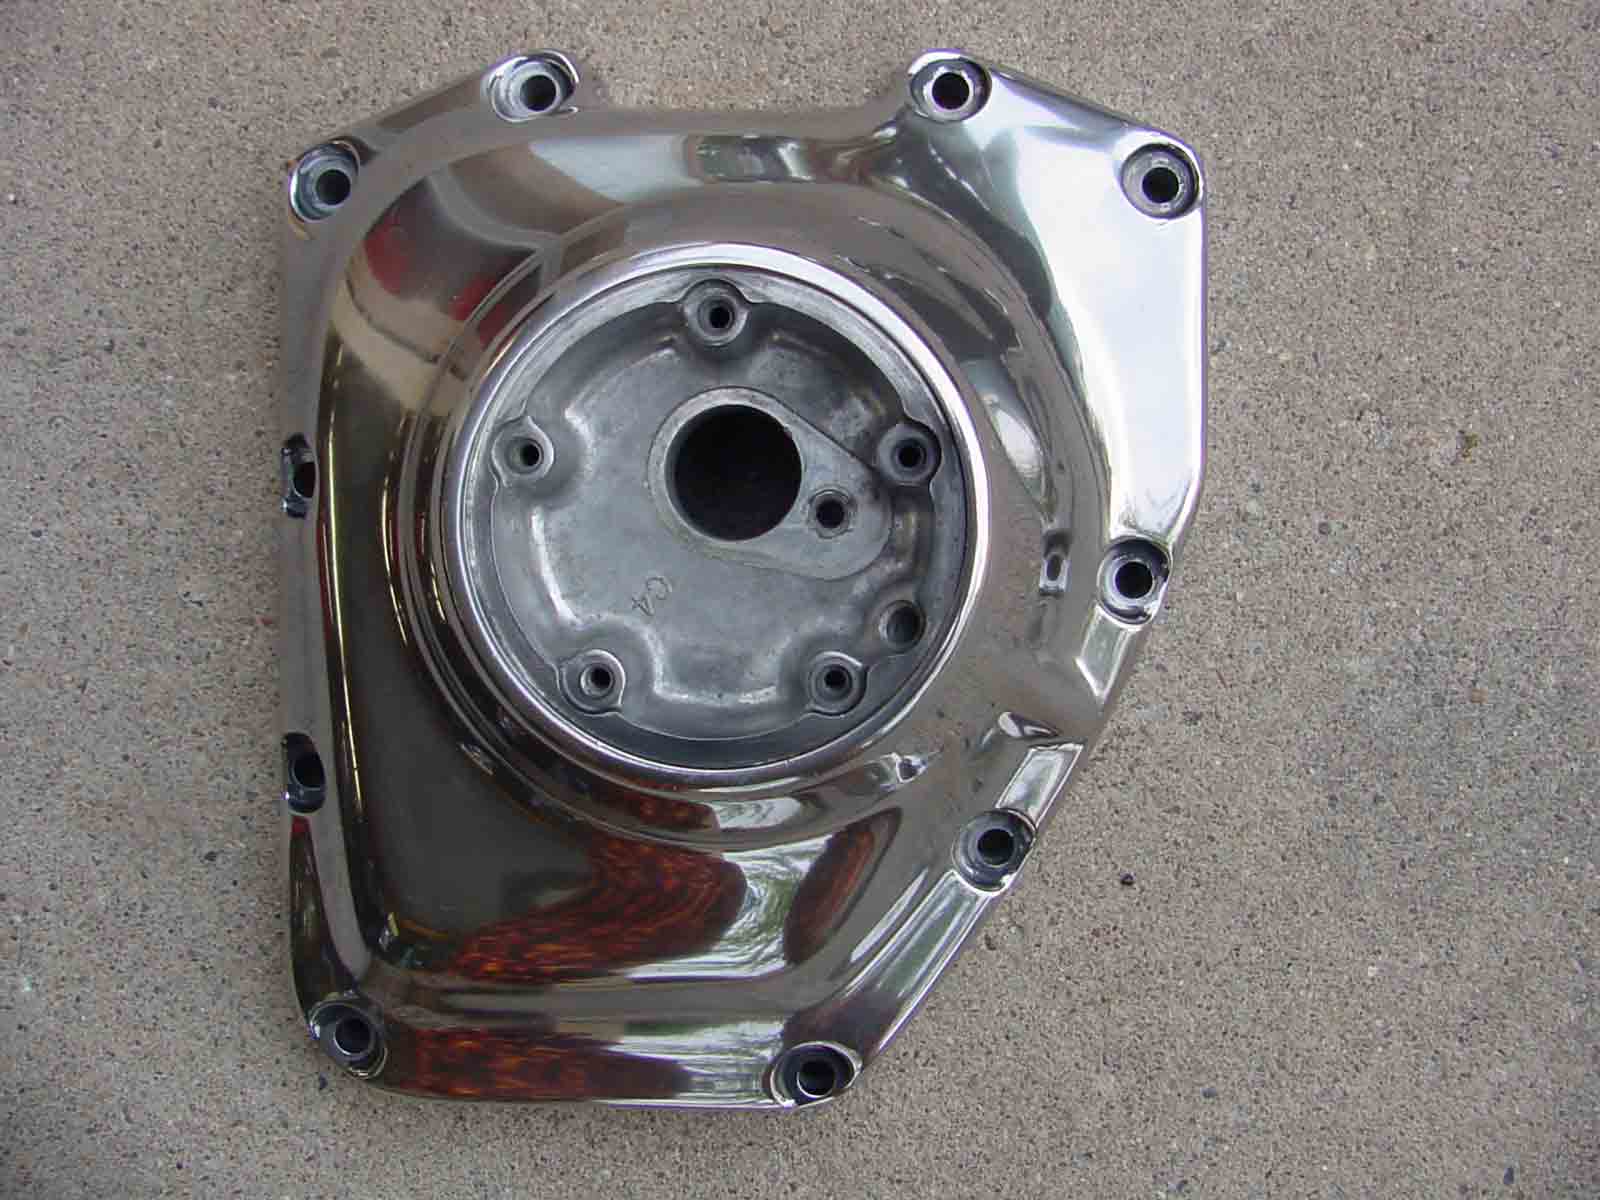
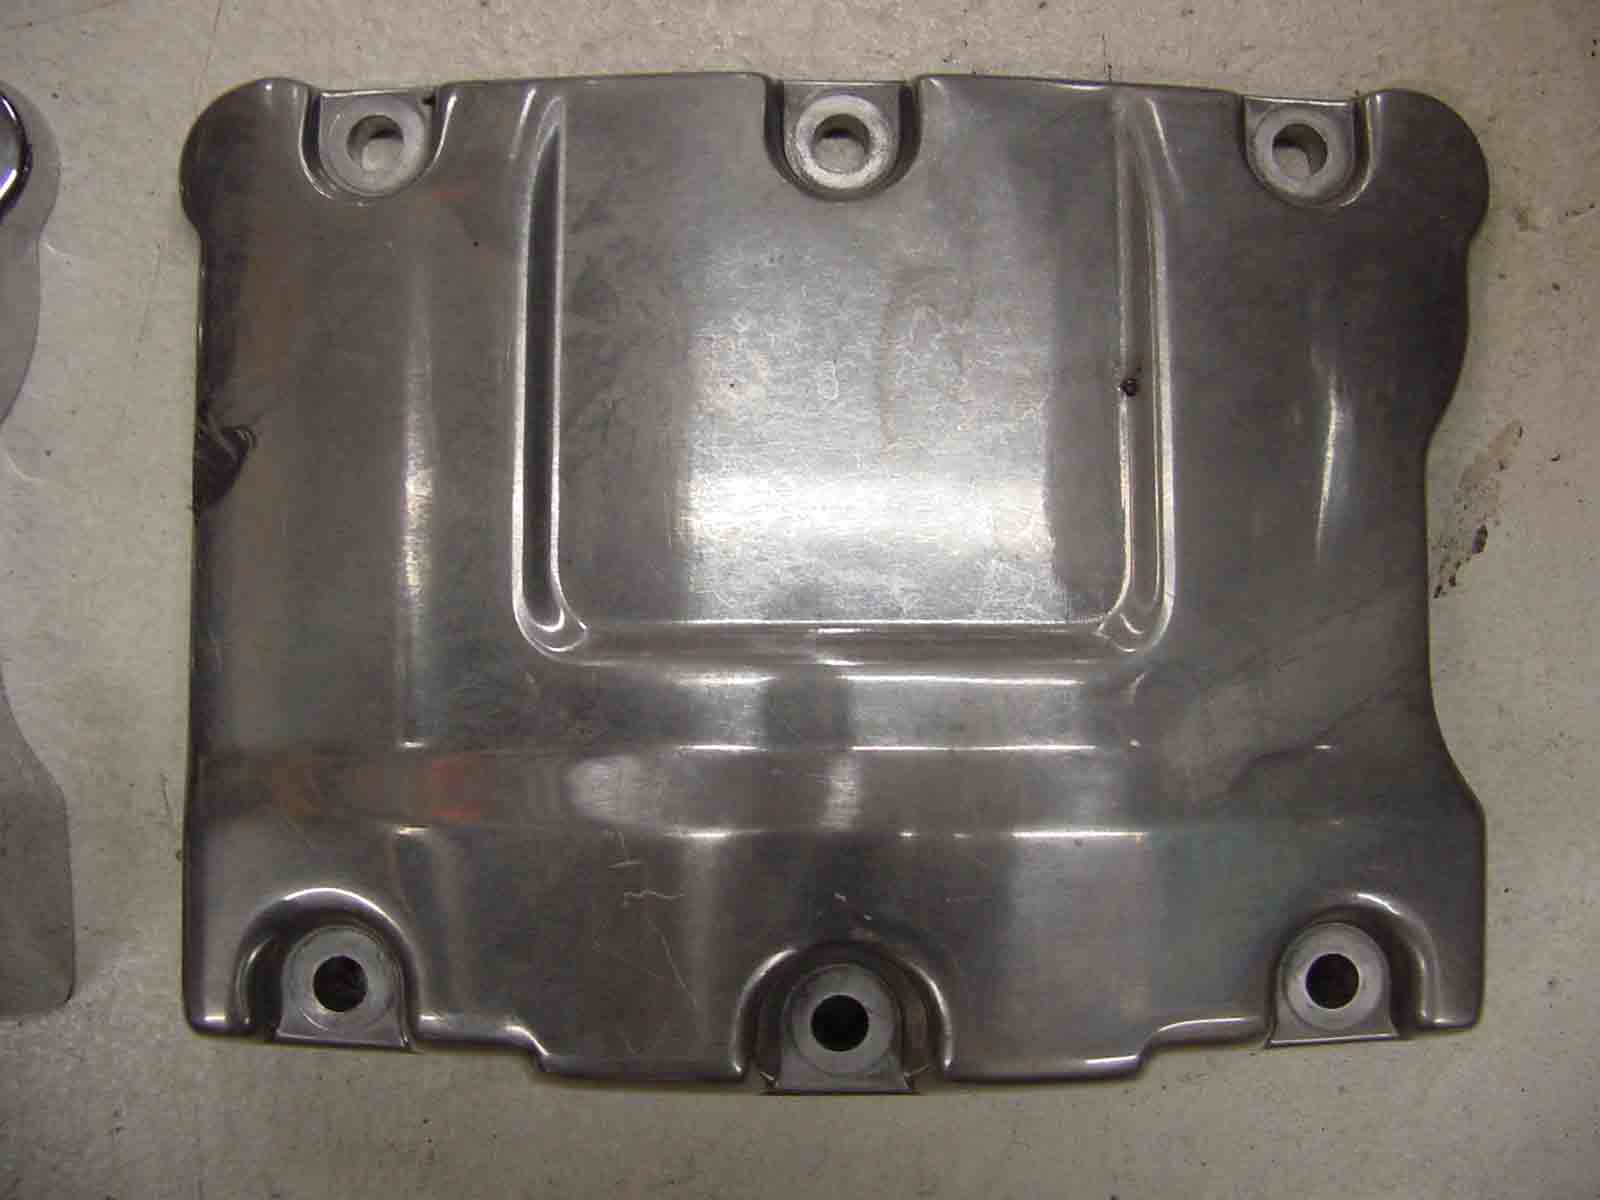
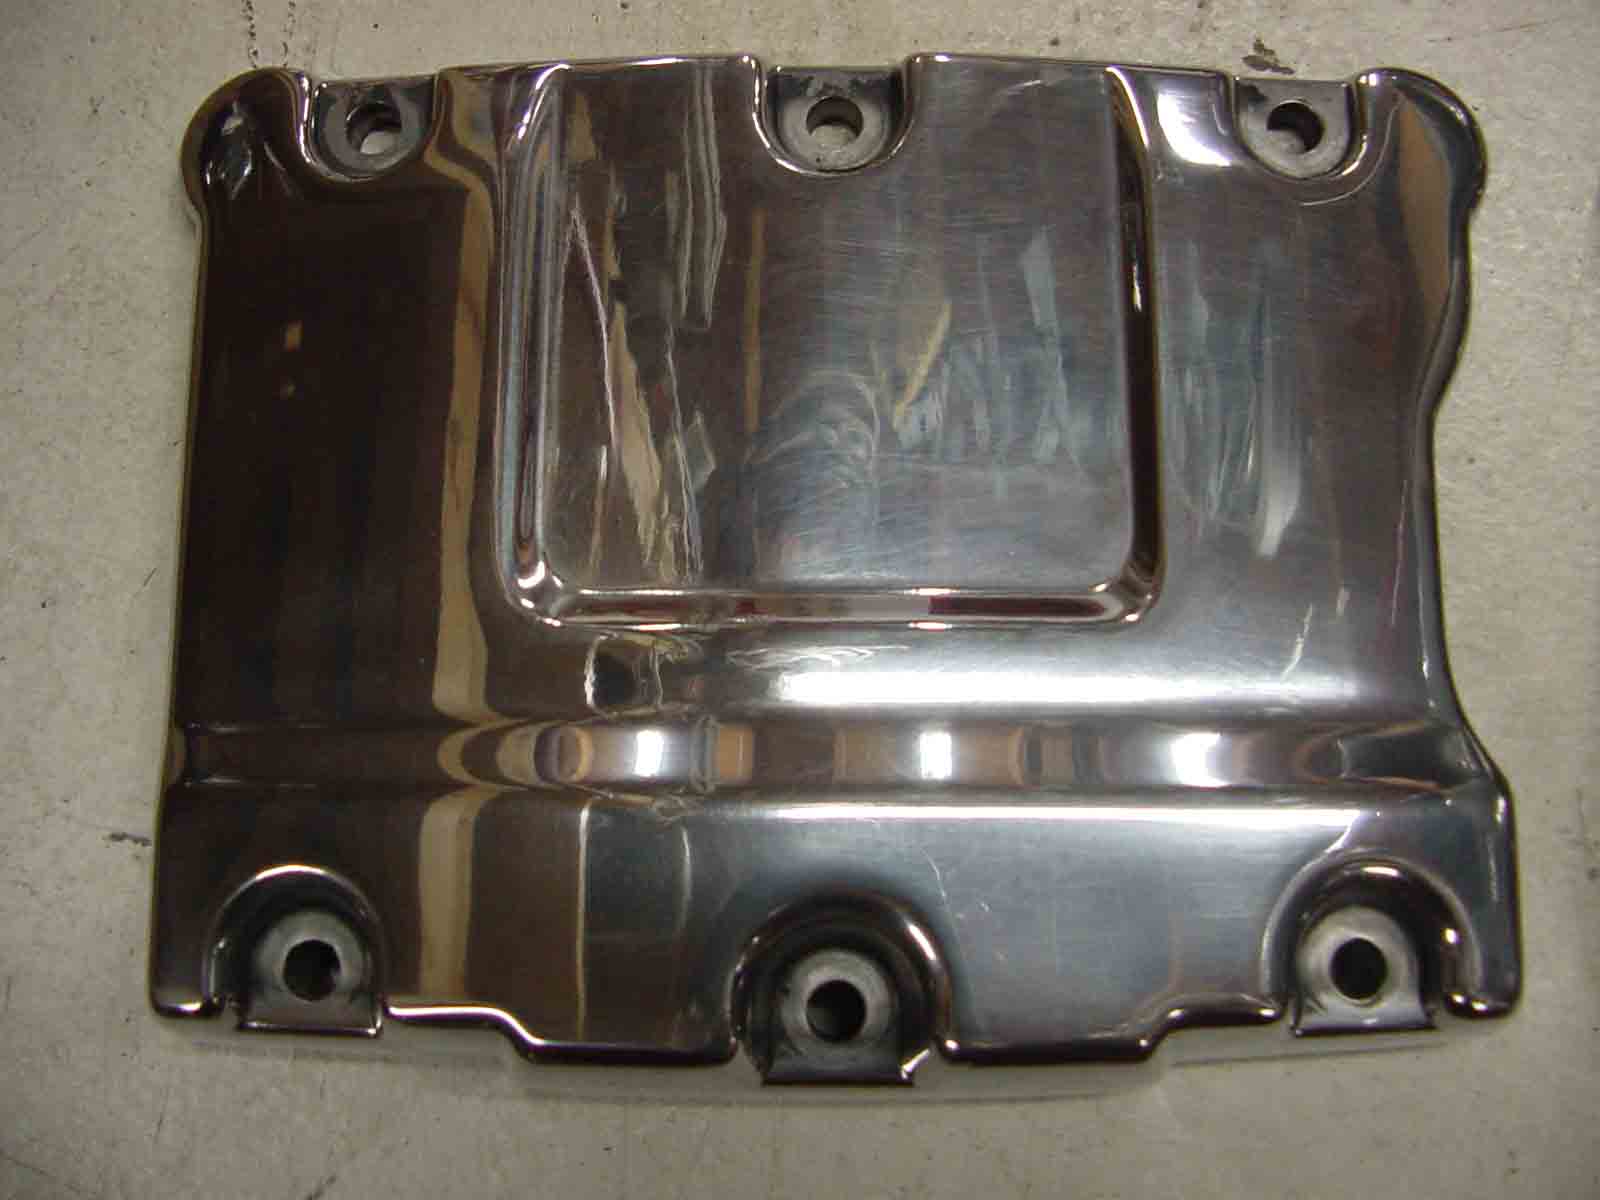
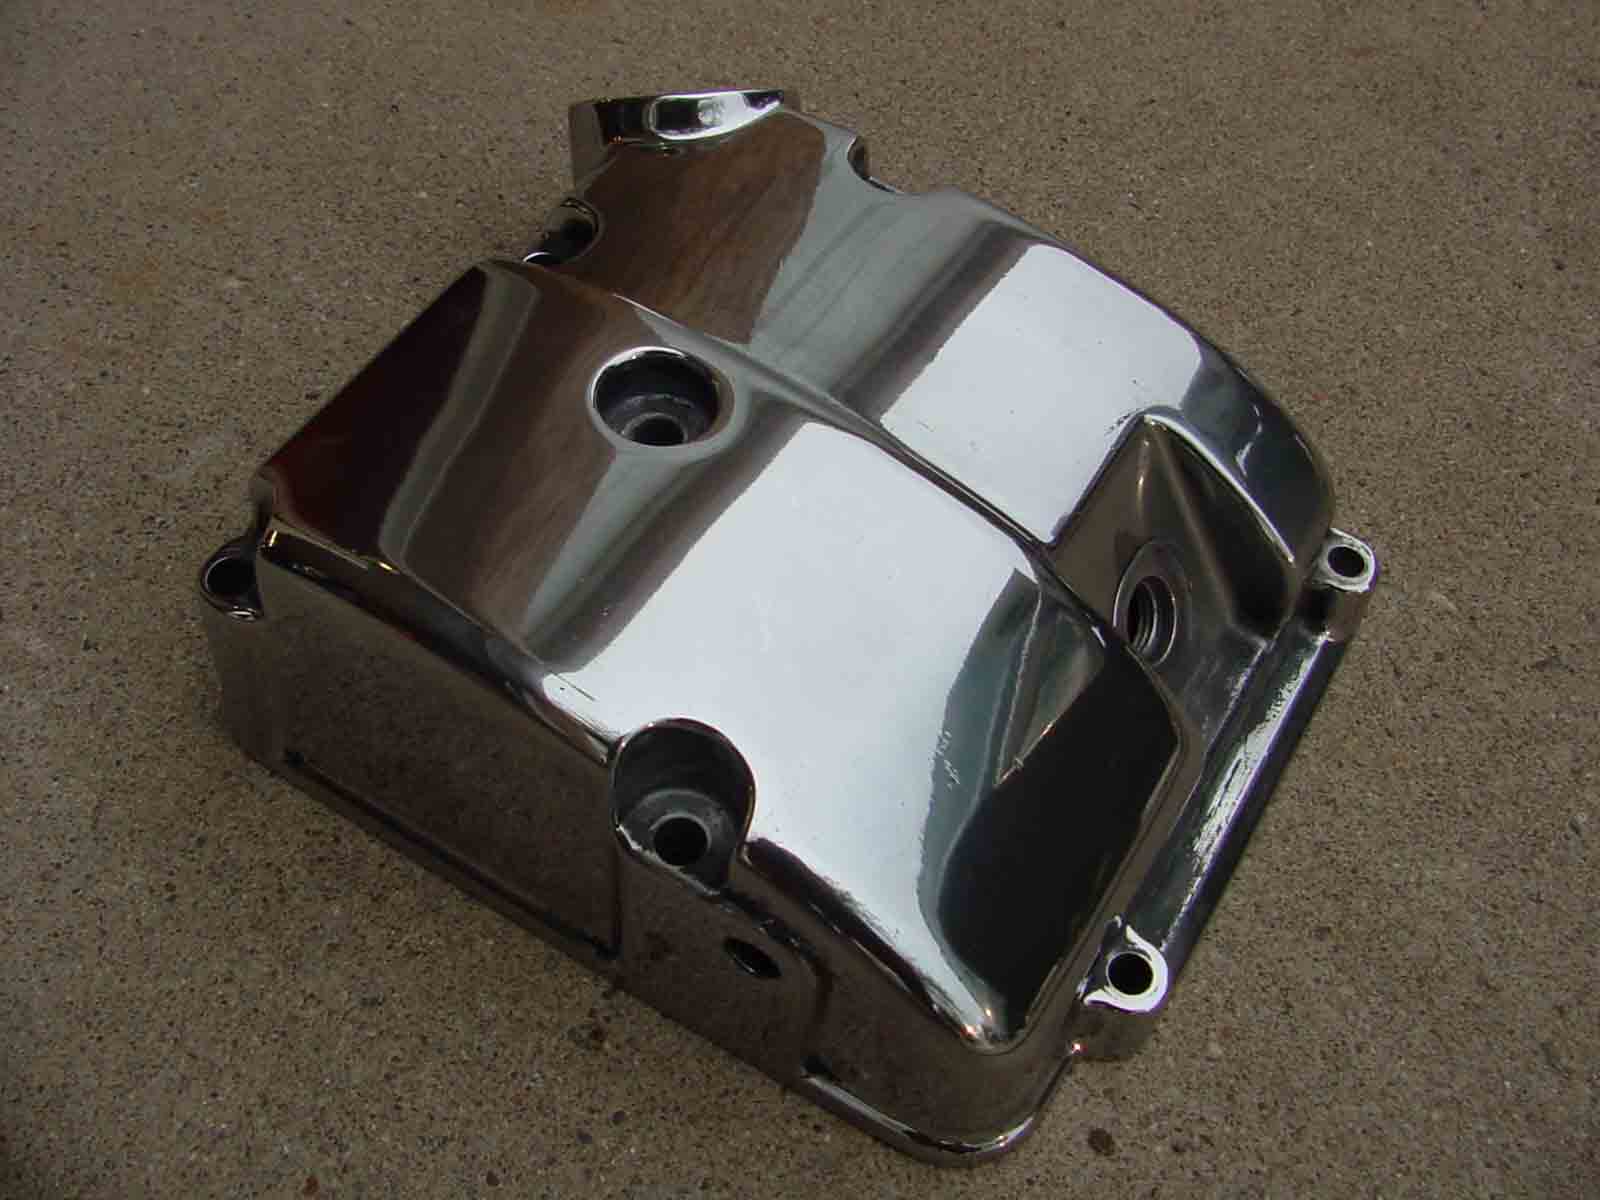
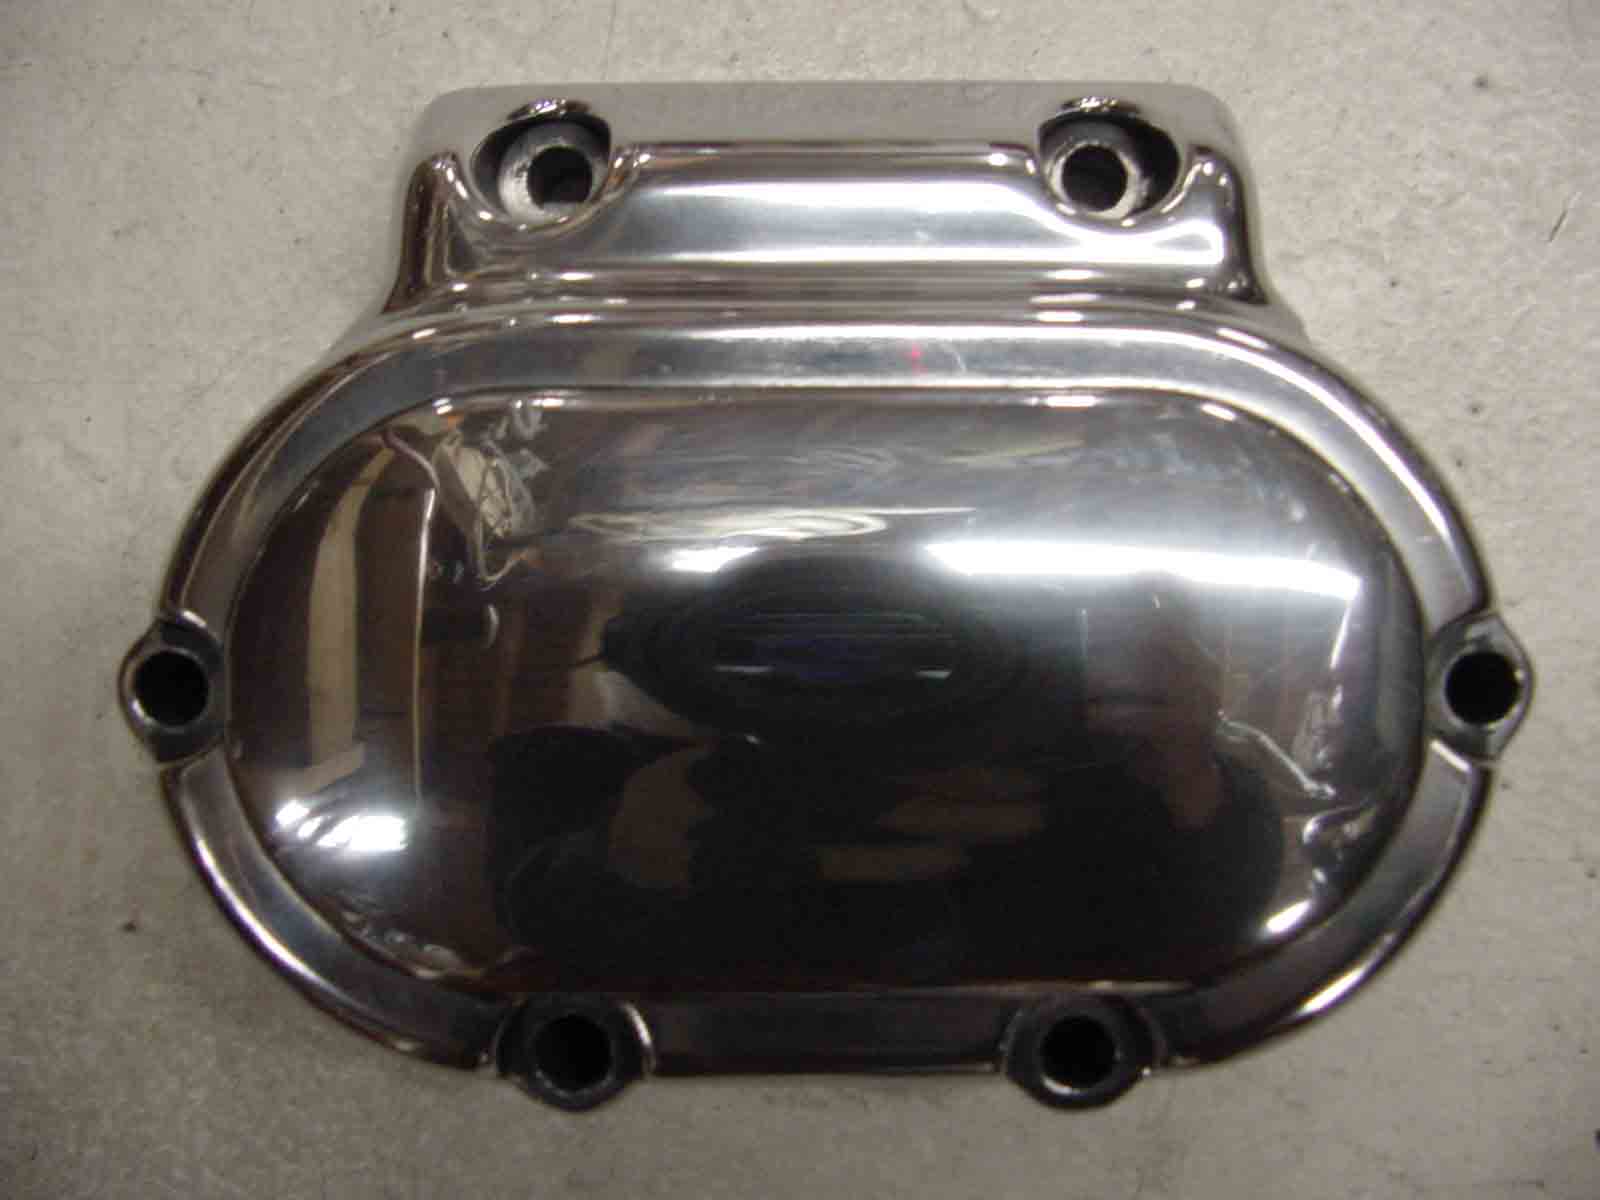
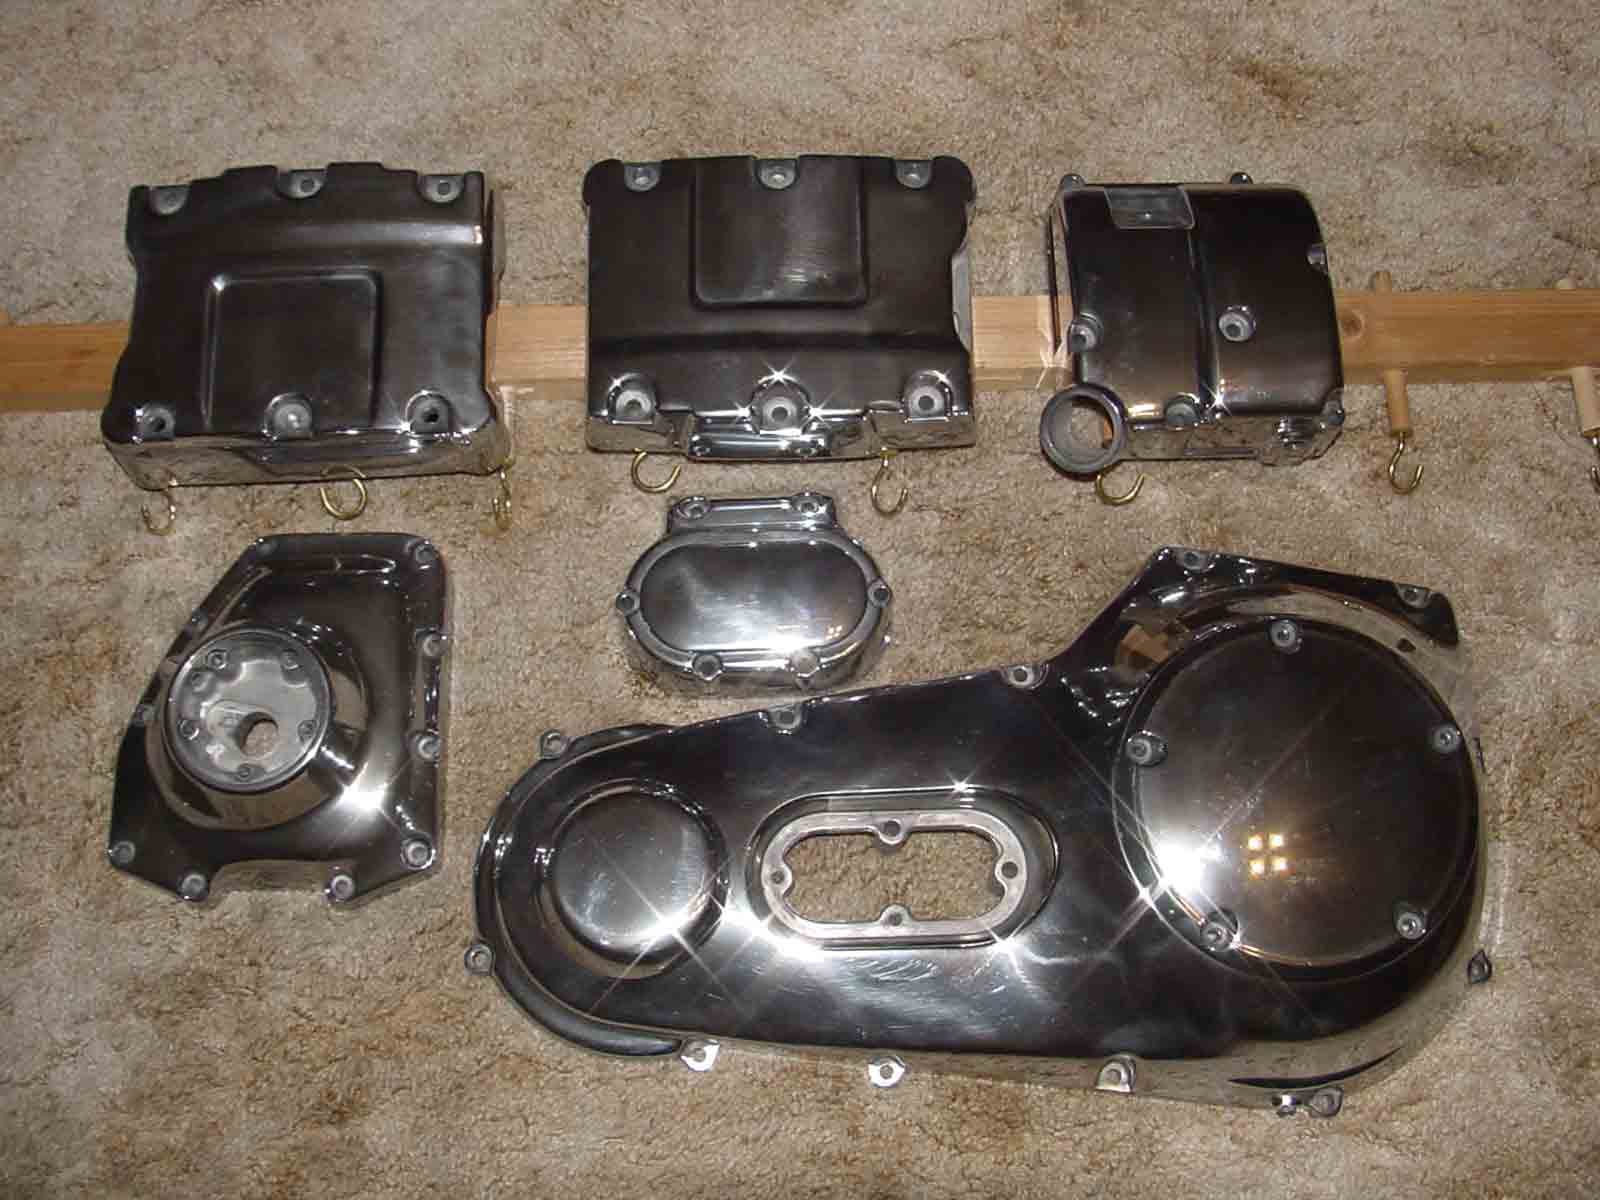
The following pictures are before and after pictures of the aluminum covers Jim sent. Polishing his non-corroded covers was much easier than polishing Julie's original corroded-all-to-hell covers.
Define "prep"...
5/21/2005 - I picked up Julie's Harley parts from the powder coater today. Unfortunately we are gravely disappointed. It seem that the word "prep" (as appears on the bill) means no more than taking a dry cloth and wiping away some of the more obvious globs of polishing media left behind from my polishing process. Blatent black chunks of buffing compound have been semi-permanently clear-coated into the aluminum bits. Needless to say, neither Julie nor myself are particularly happy.
Though I had struck a deal with the powder coater to redo the job, now that Julie and the bike are gone, this is no longer an issue for me. Though I offered to finish the project, Julie took the parts in their unsatisfactory state. I can only assume that she will take over where I left off. Funny how one man's "prep" is little more than wiping a dry rag over a dirty part...amazing.
This page is up as of May 4, 2005 - 4:10 PM. This page was updated June 6, 2005 - 1:10 PM.
This page is still under construction.
If you have any questions, comments or suggestions, please
e'mail me.
Go home!
Back to My Projects page!

All pictures & material Copyright © 2005 Donnie Frank
|
