My rusted bathroom window project...
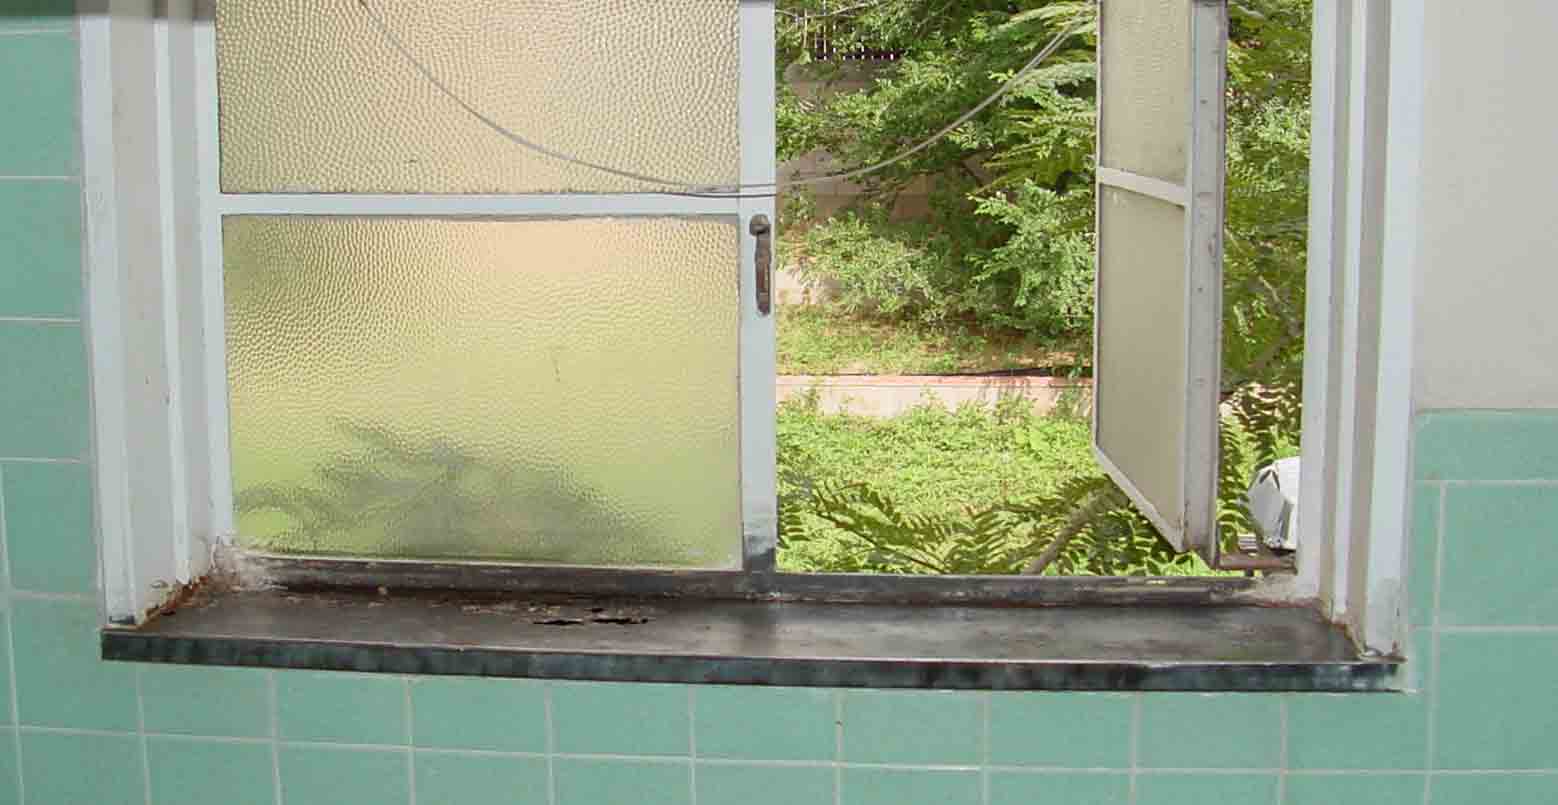
My house was built around 1959. And though it has been a great house, like most homes, it has been in need of some minor repairs here and there. This particular page covers my bathroom window repair. The reason I'm posting this repair to my website is because this repair was an unusual one.
Since my house was built in '59, all the window panes are steel. With the exception of having to replace most of the window cranks, the windows have worked great throughout the house, with the exception of the main bathroom window, that is. The problem is that the bathroom window resides in the shower. Consequently this particular window sees a lot more moisture than the other windows do. This has caused a rather severe corrosion issue with this particular window pane. Over the years, previous owners have attempted multiple repairs using standard methods of spackle and standard house paint. This condition was compounded by my ex-girlfriend who decided that "more is better" and spackled the crud out of the window sill. Unfortunately she didn't do any sanding so the window sill looked like it had been "frosted" like a cake rather than sanded and finished like a home repair. The repair job was a horrible eye-sore that needed to be rectified.
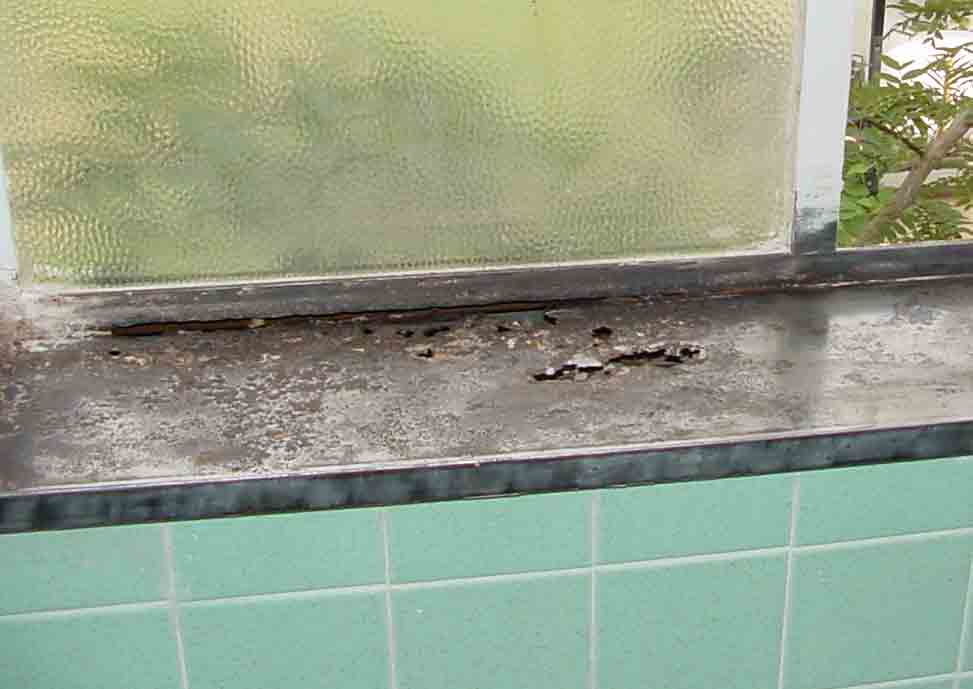
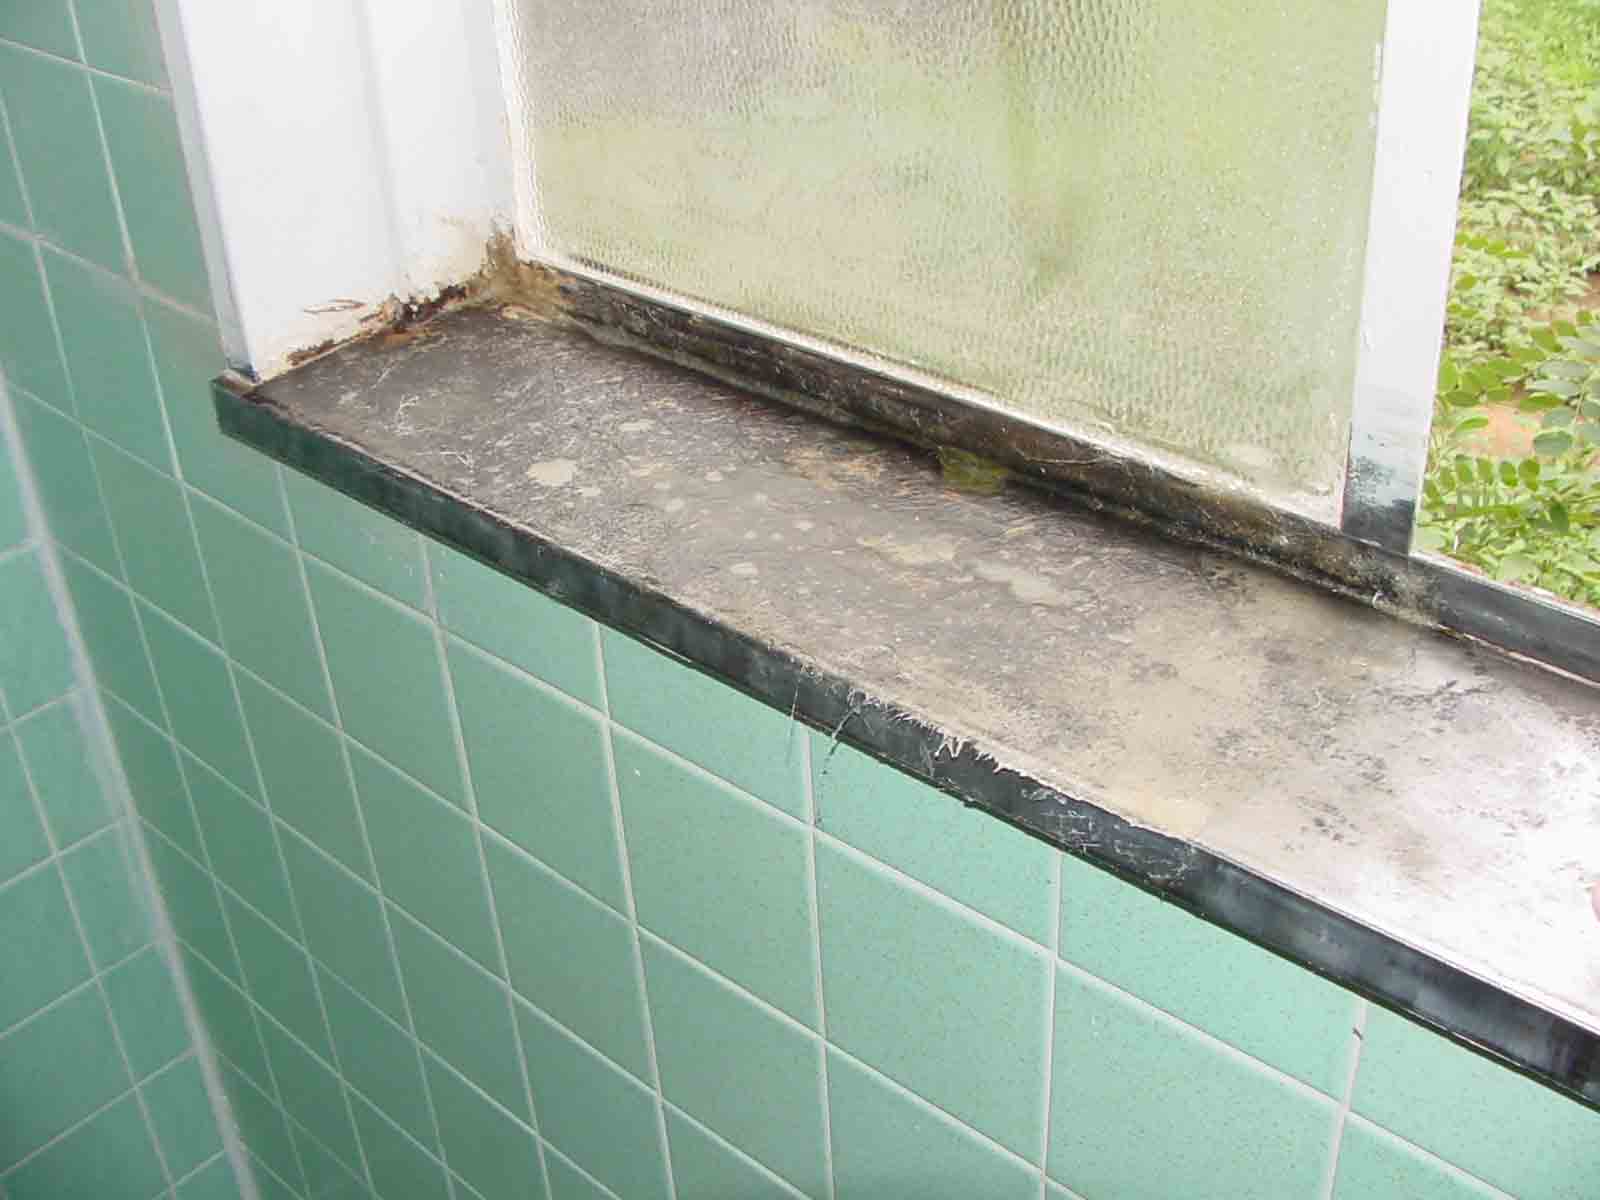
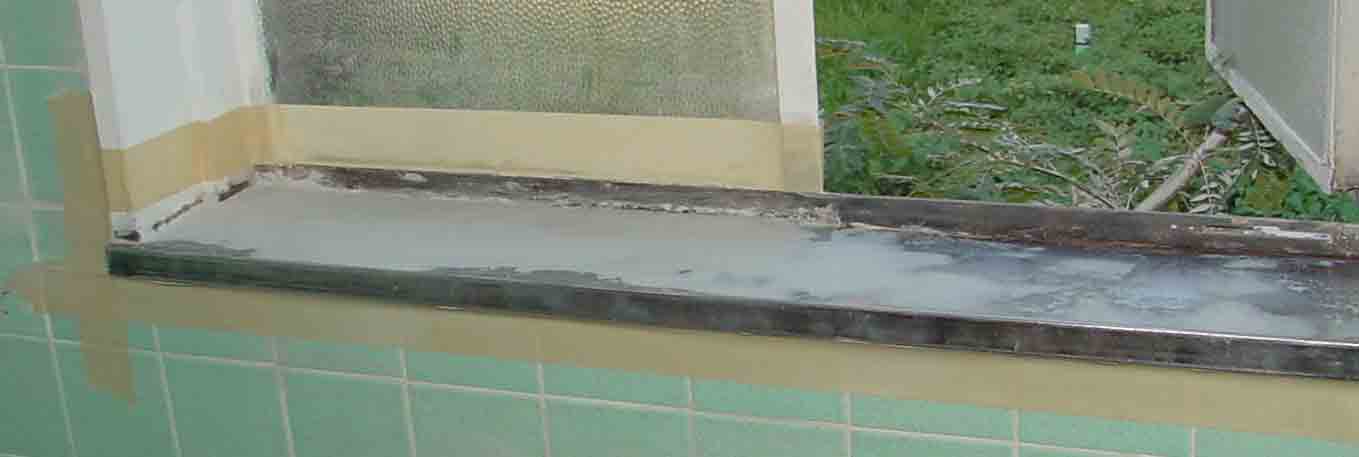
This first picture shows a close-up of the rusted window after I ground off the 20 layers of paint and spackle and rust. As you can see the window sill has rusted clear through.
With any luck this repair will last as long as my Galaxie repair has lasted. Honestly, this repair is going to see a lot more precipitation than my Galaxie ever did, so I've got my fingers crossed.
This page is up as of August 24th, 2005 - 1:30 PM and was updated October 30th, 2009.
Comments? Corrections? Questions? Please
e'mail me to tell me about it.
Since the window sill is steel, I approached this problem as having more in common with automotive sheet metal than wood or drywall. Hence I decided to treat this repair like I would a rusting car body. Below are pictures of the repair process.
A few years ago I repaired the rusted floor board of my '63 Galaxie using Bondo brand's Fiberglass and Epoxy Resin repair kit. Since that worked so well on my rusted Galaxie, I decided that that was what I was going to use on my rusted window sill. Cost for this kit was about 17 bucks. Below is a picture with the fiberglass cut and applied in concert with the epoxy resin.
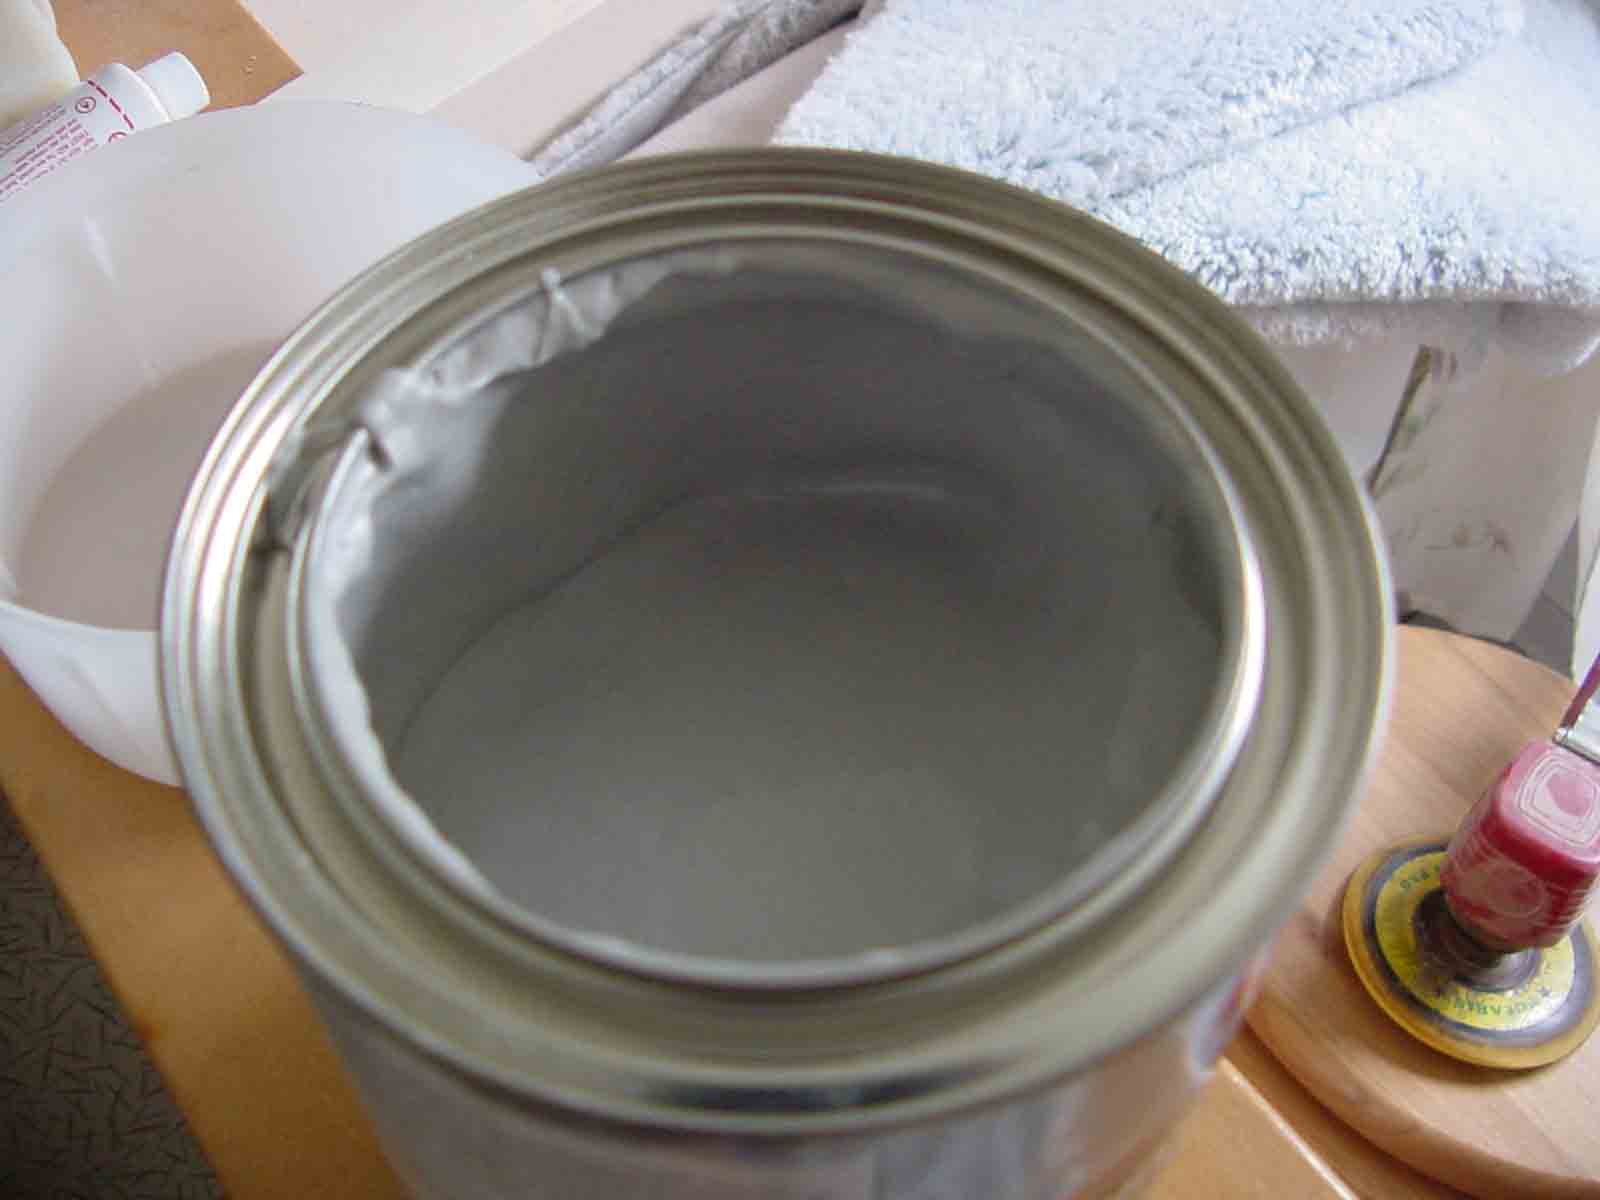
The next logical progression was to smooth out the surface using Bondo filler. I was a little miffed that the $9.00 can was only half full when I opened it. However since I was only going to need a small amount of the filler, I didn't complain.
Here's the window after applying the Bondo and then sanding using an RO (Random Orbital) sander.
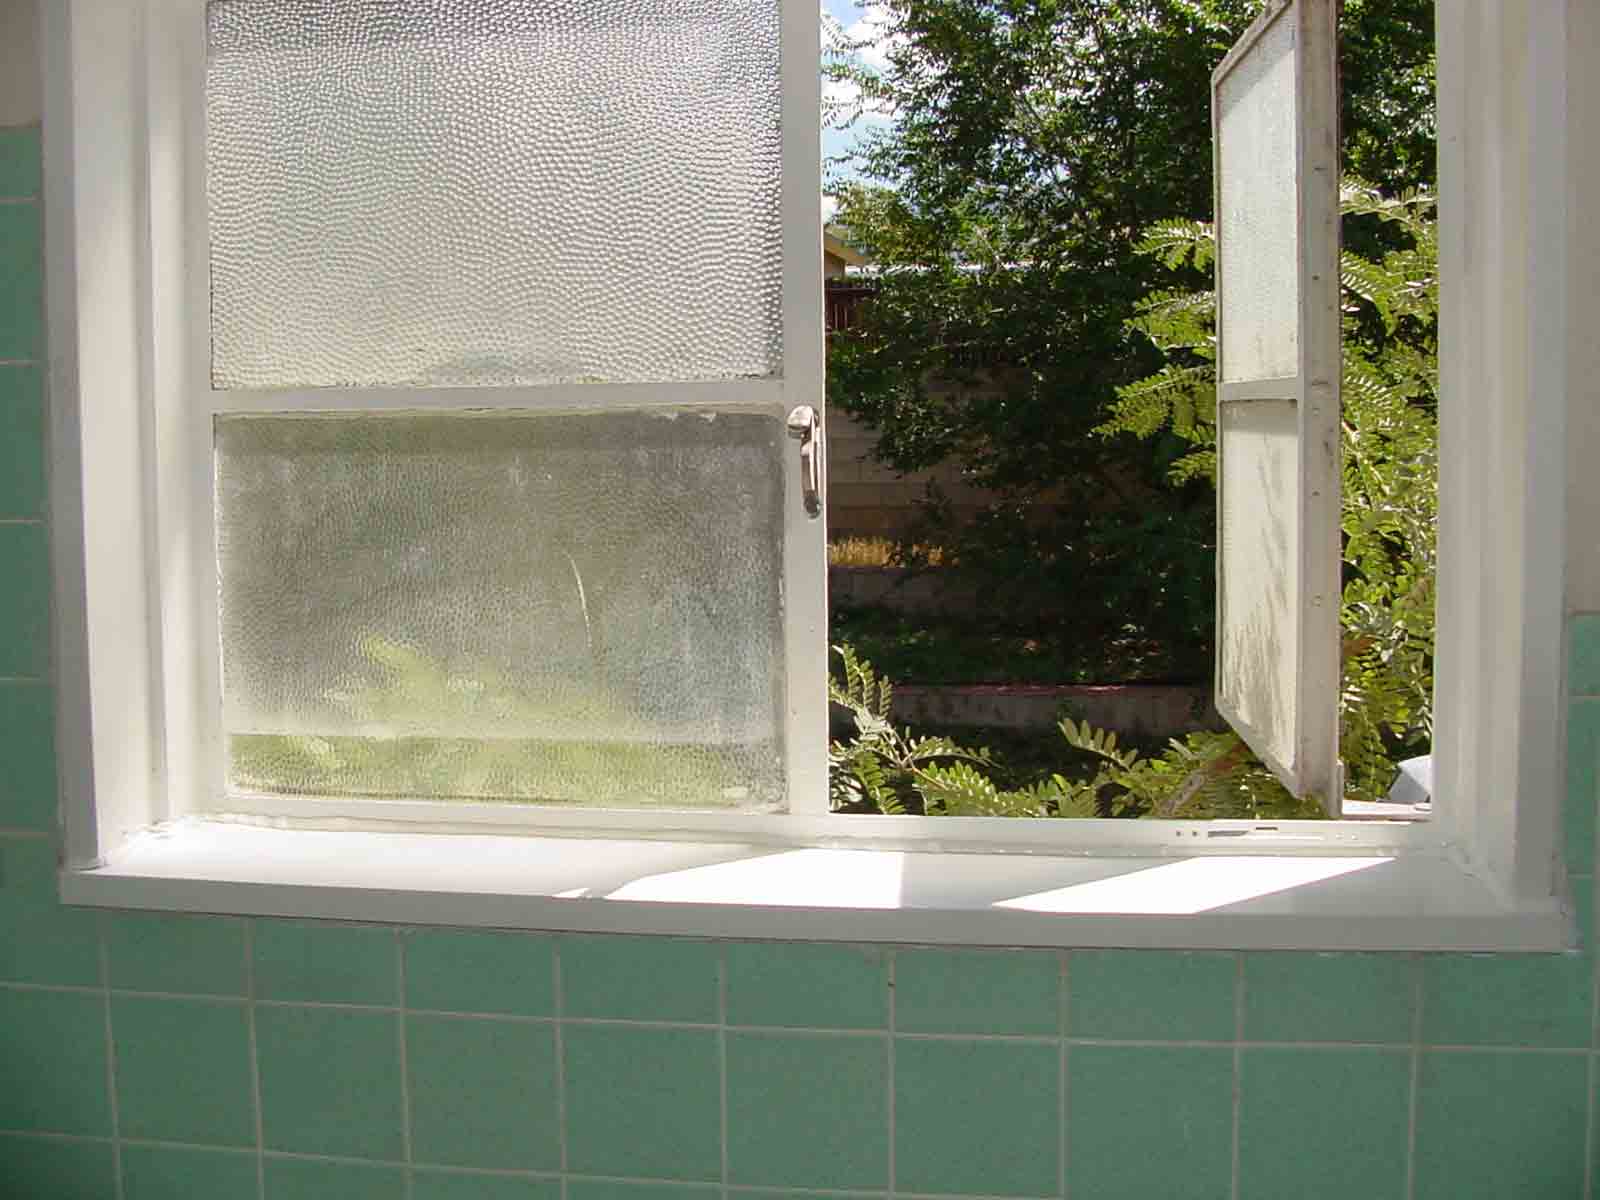
And here are the results after painting and caulking. I sprung for Krylon (with rust inhibitors), which was 5 bux.
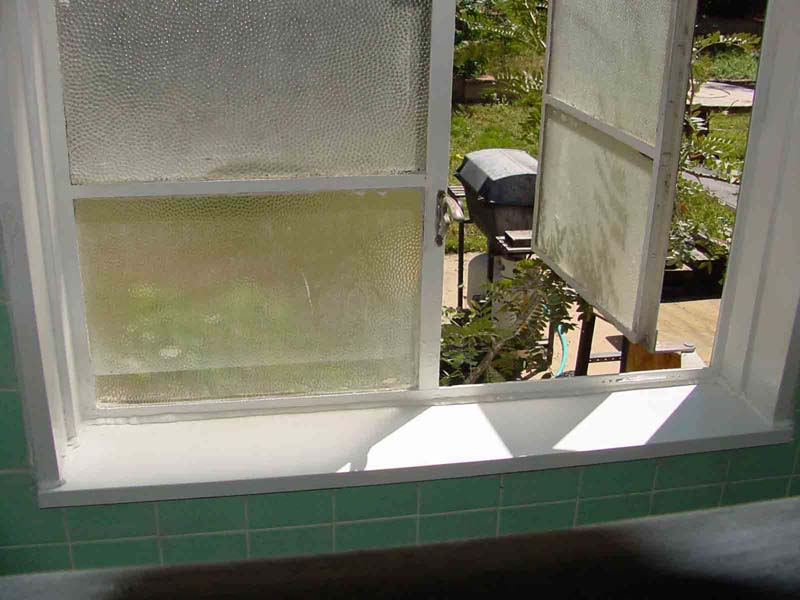
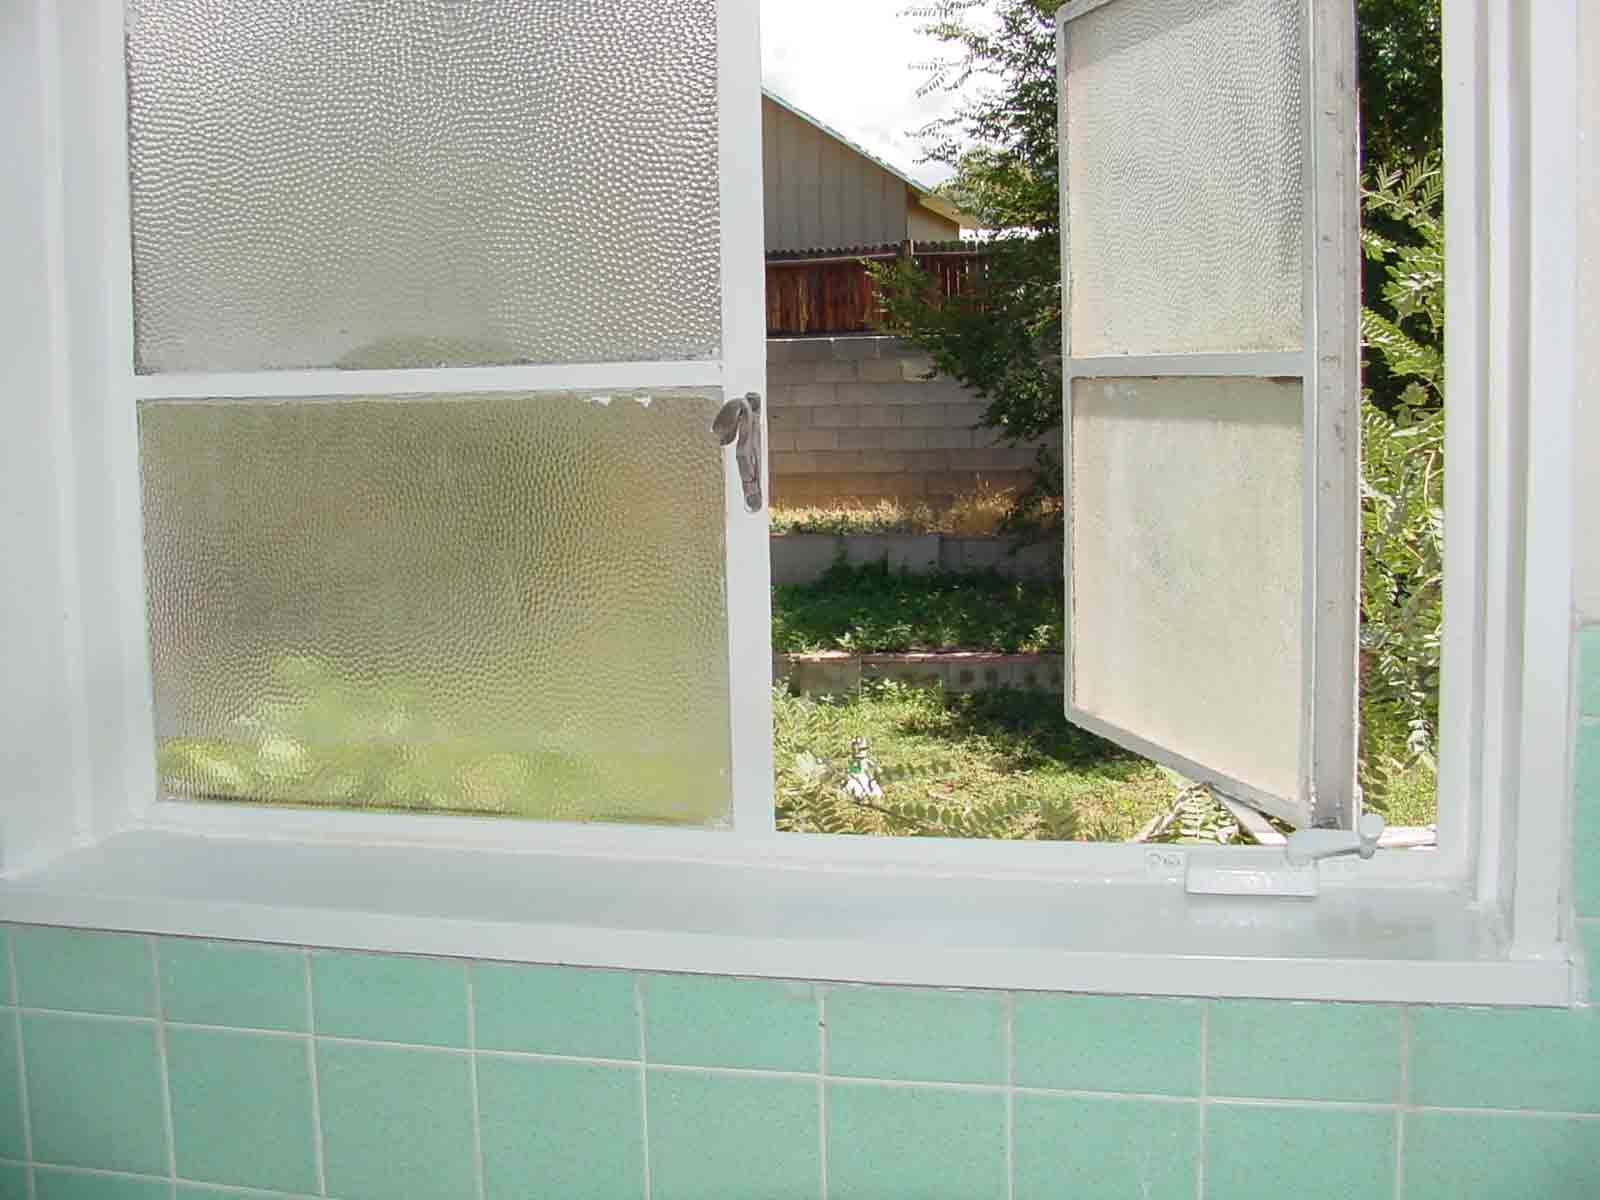
And here's a final picture after the new window crank was added. Total cost for this project, including the new window crank, was about 40 bucks - hundreds less than the cost of having a new window installed. Not bad, eh?

All pictures & material Copyright © 2005 Donnie Frank